
Game-Ready Biker Character Production
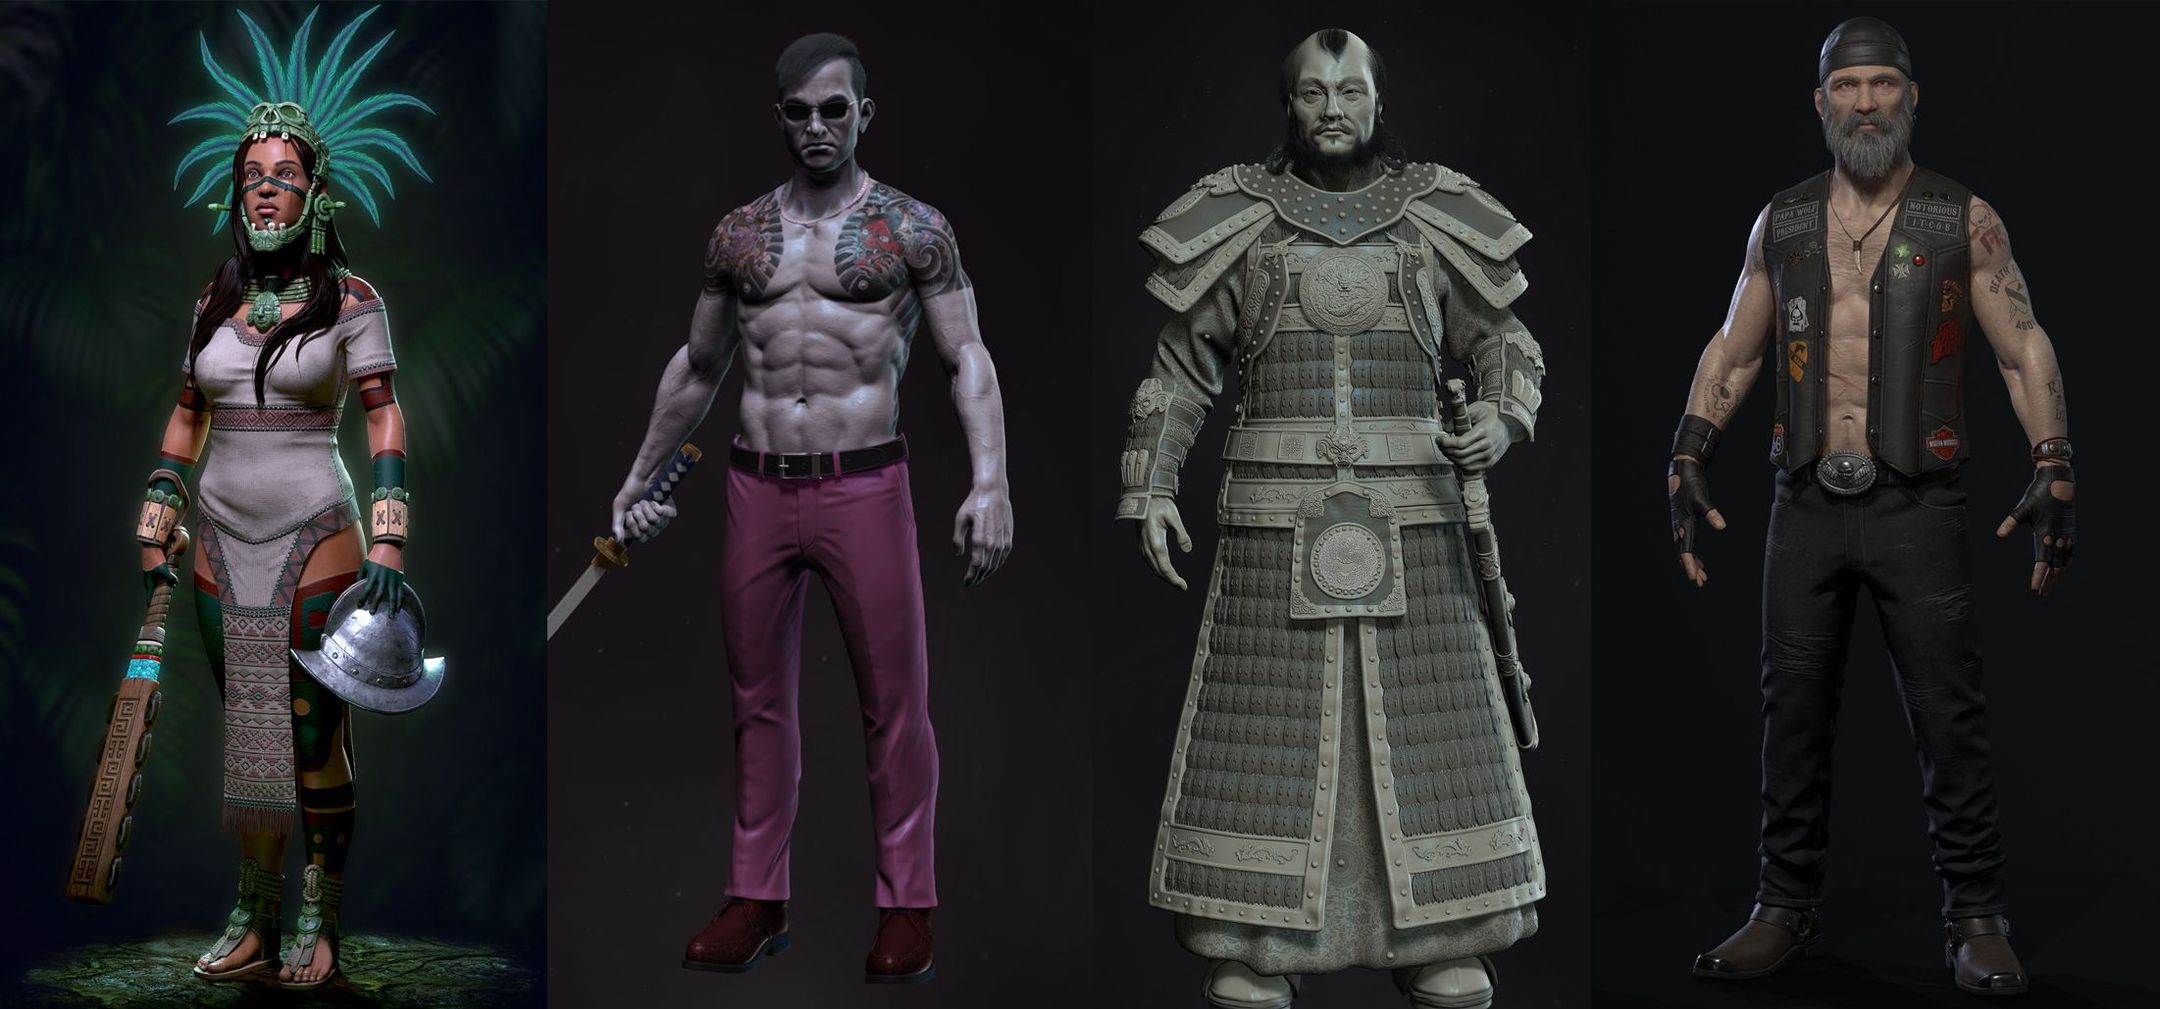
We take a look at the process and software used that our Hero Rodrigo went through to produce this Game Ready Biker Character for a CGHero client.
About the Artist
Rodrigohas been working in the games industry for over a decade as a character and 3D artist working for the likes of HB Studios, Kaxan Games, and Gameloft, and has moved onto freelancing as a character artist.
Gathering Reference
Before the artist can begin with the sculpting stages of the project, they will need to be provided with visual or descriptive references to enable them to get an idea of what the character will need to look like. This could be in the form of CAD drawings, moodboards, photo references, or even concept art created by aConcept Artist. For this biker character, a mood board was created which can be seen below.
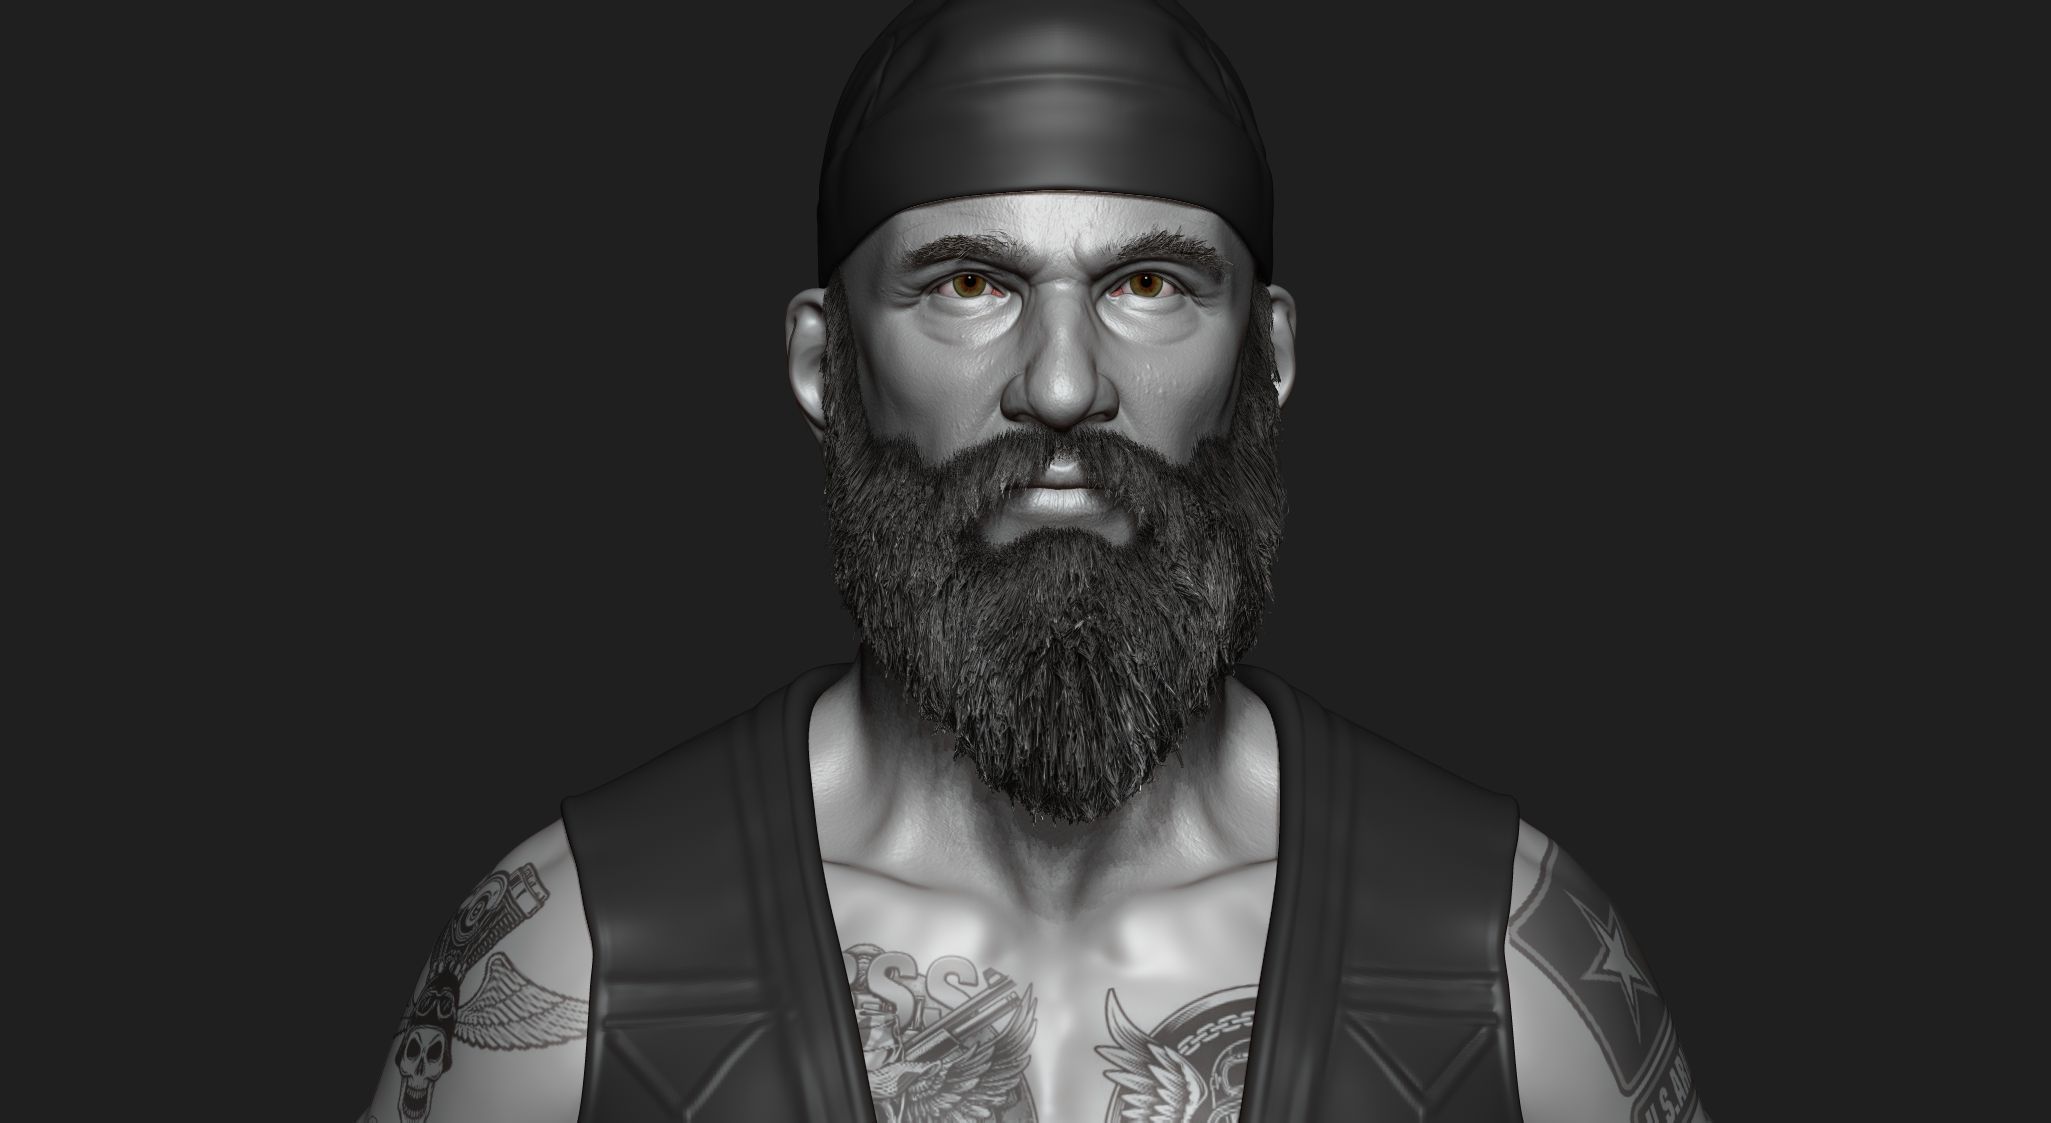
Sculpting the High Poly Model
The artist usedZBrushfor this character. They would start with a base mesh or they would block out the characters basic form using digital clay. Once the general proportions of the model were created, the next level of detail was added like bone structure, muscles, and limbs. After this, the finer details like winks, scars, etc are added.
Creating the Clothing
3D software has come a long way and cloth/clothing simulations have been made easier withMarvelous Designer. Using this software, the artist was able to create the different sections of fabric for the trousers, headband, gloves, and waistcoat and stitch these together. Once the pattern design has been created, the cloth is simulated to fall naturally onto the characters body. Once the desired look has been produced inMarvelous Designer, the clothing was exported back toZBrushso that the final details for the fabric surface, wear and fold clean up can be applied.
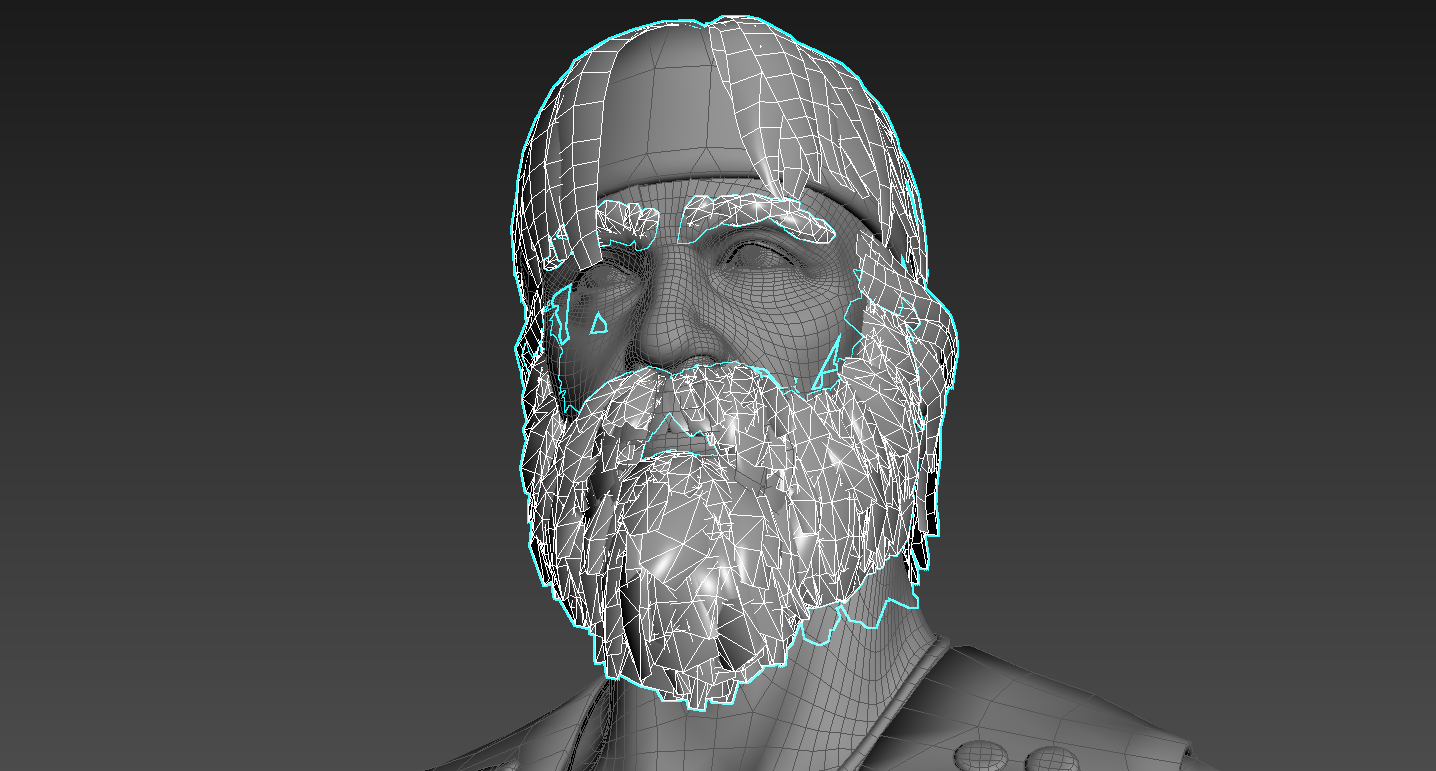
Creating the Optimised Game Ready Asset
Once the high poly sculpt has been produced, it is time to create a low poly version which is optimised to work more efficiently within a game engine. There are some pieces of software which are specifically designed forretopologysuch asTopoGun, but this can also be handled in most 3D software packages and in this instance Rodrigo usesZBrushto draw the polygons on top of the high poly sculpt and used the ZSphere/Edit Topology method for this.

Creating the Hair Cards
When producing hair cards, it is good practice to have a selection of different sized hair cards, larger hair cards are used for areas like the scalp and the smaller cards get used as the hair progresses out. For this character, Rodrigo used 2 sets of hair cards, one for the beard and one for the hair as there was no limitation on texture sets. As you can see from the below textures, there were a number of different hair cards used to provide the artist with more variation.
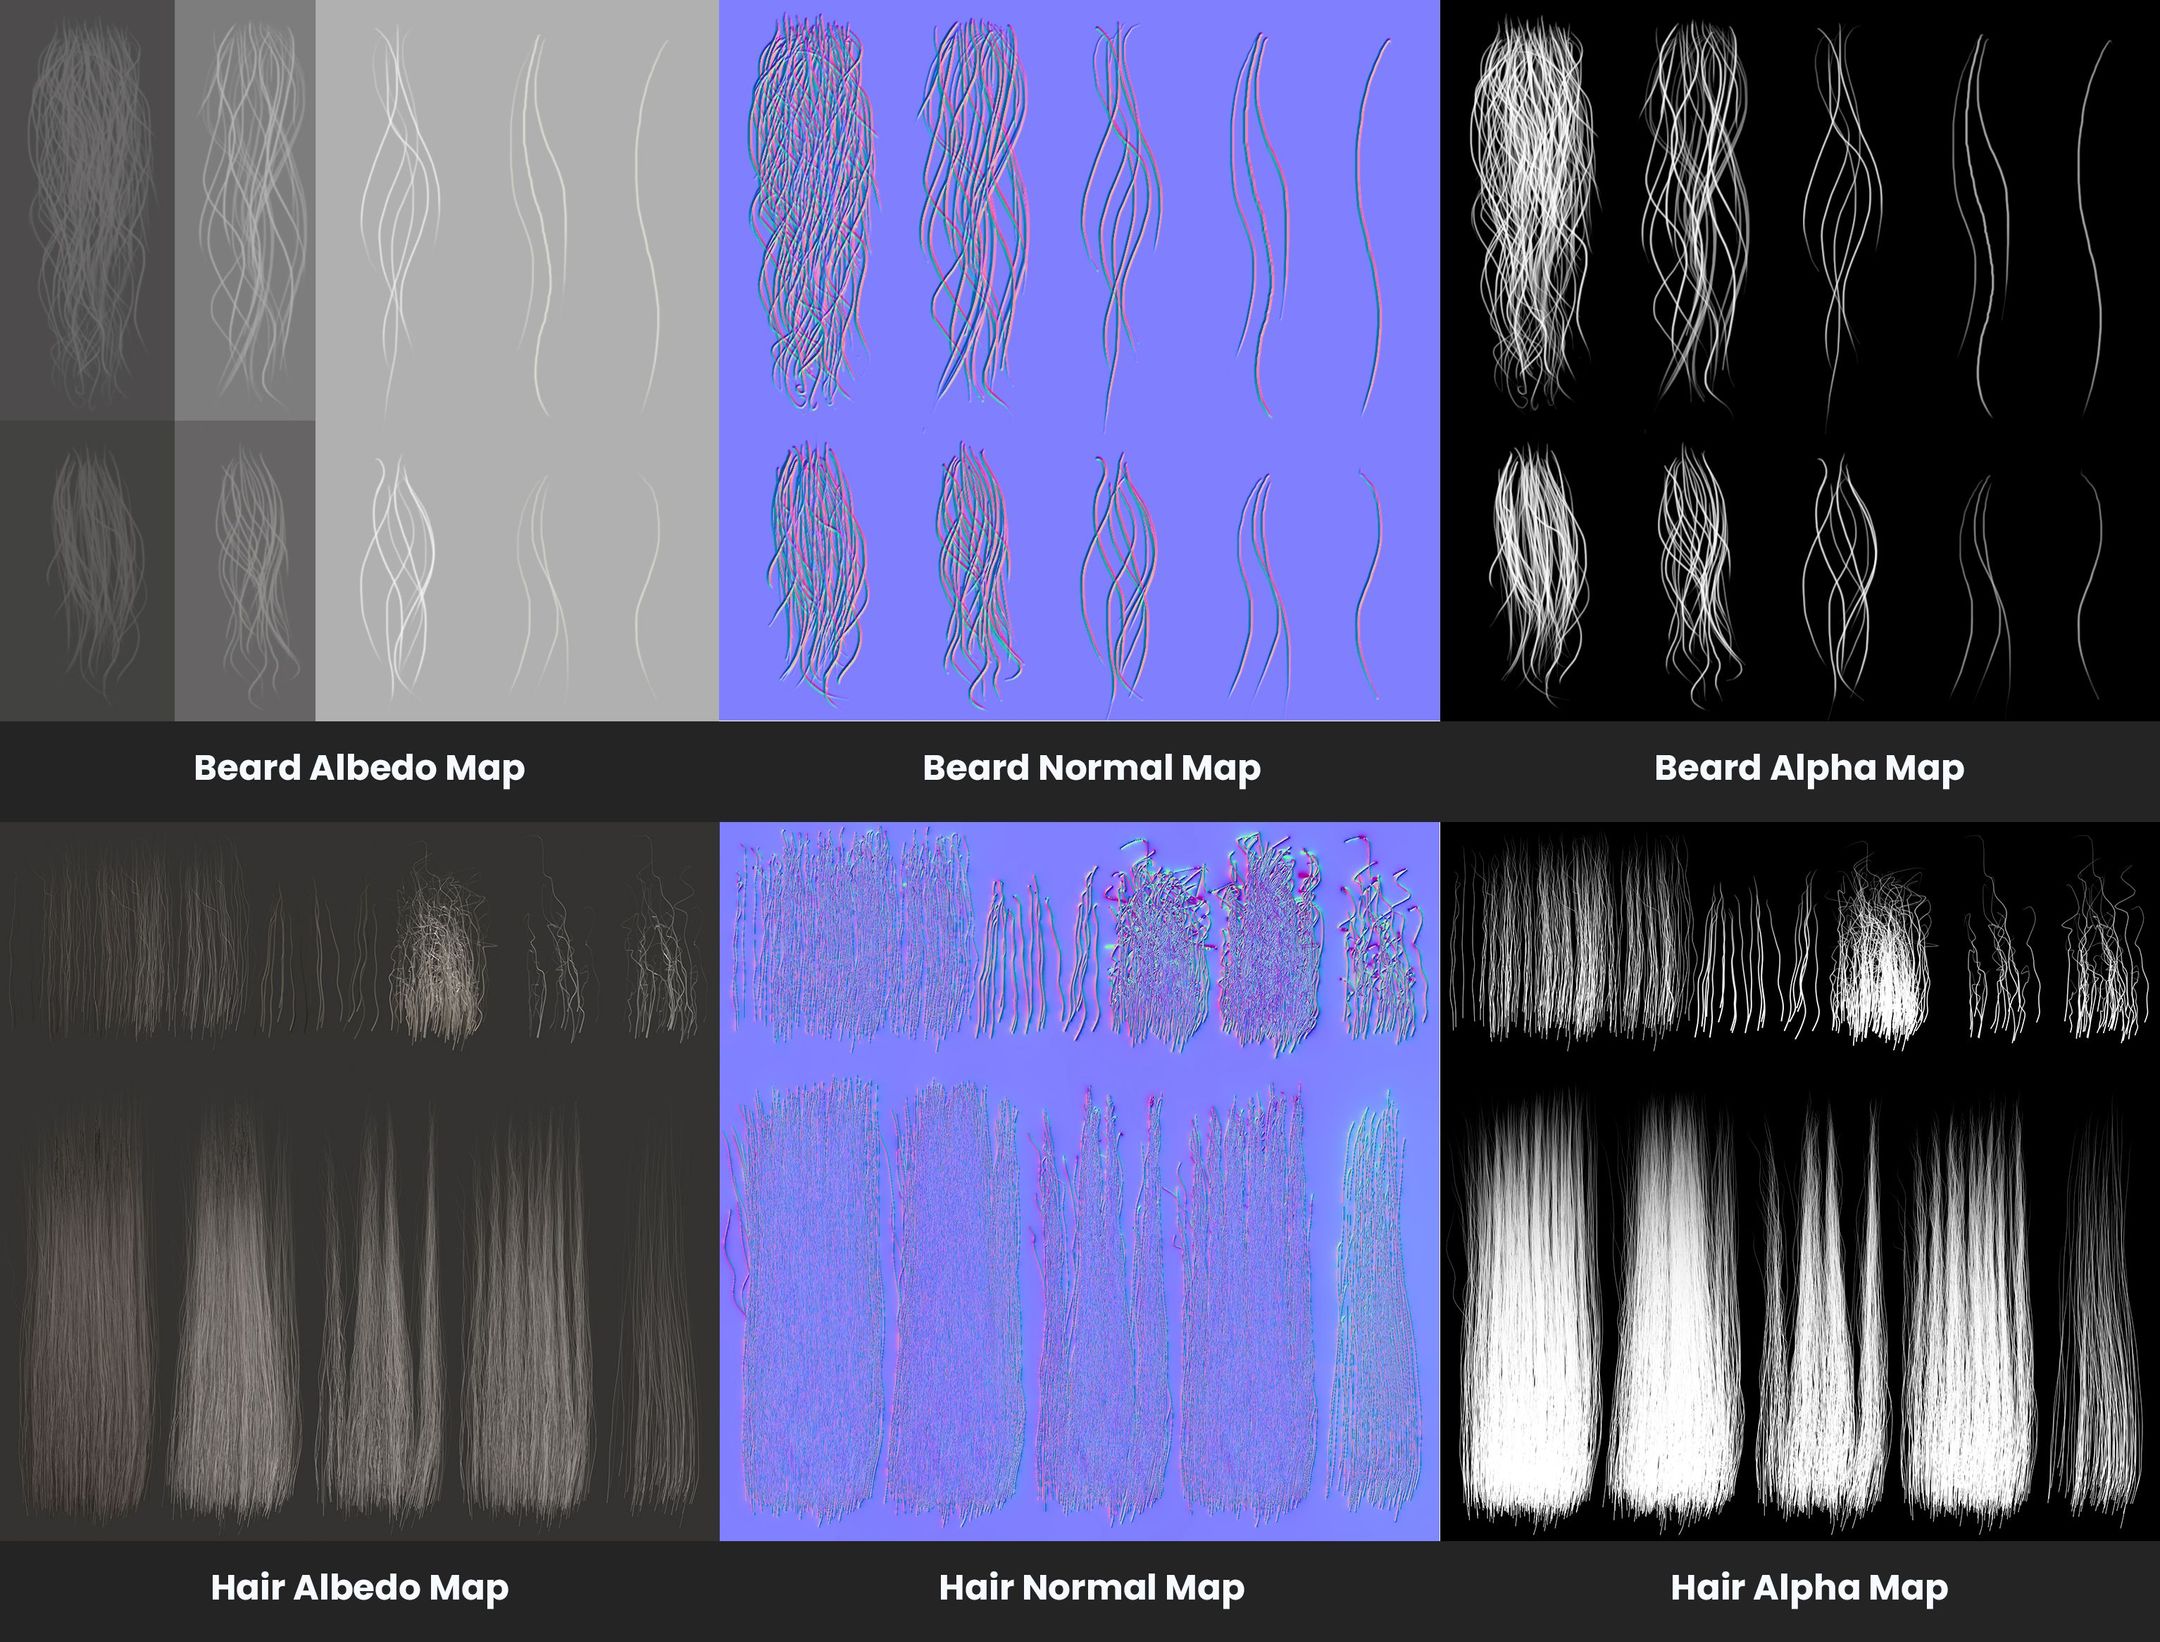
Once the hair cards are created, the artist carefully places them into position ensuring that there is no obvious repetition, resulting in unique looking hair strands. The hair and beard came to 9.6 triangles. To learn more about creating and placing hair cards, check out this tutorial on creatingHair Cards.
Creating The Skin Detailing & PBR Texturing
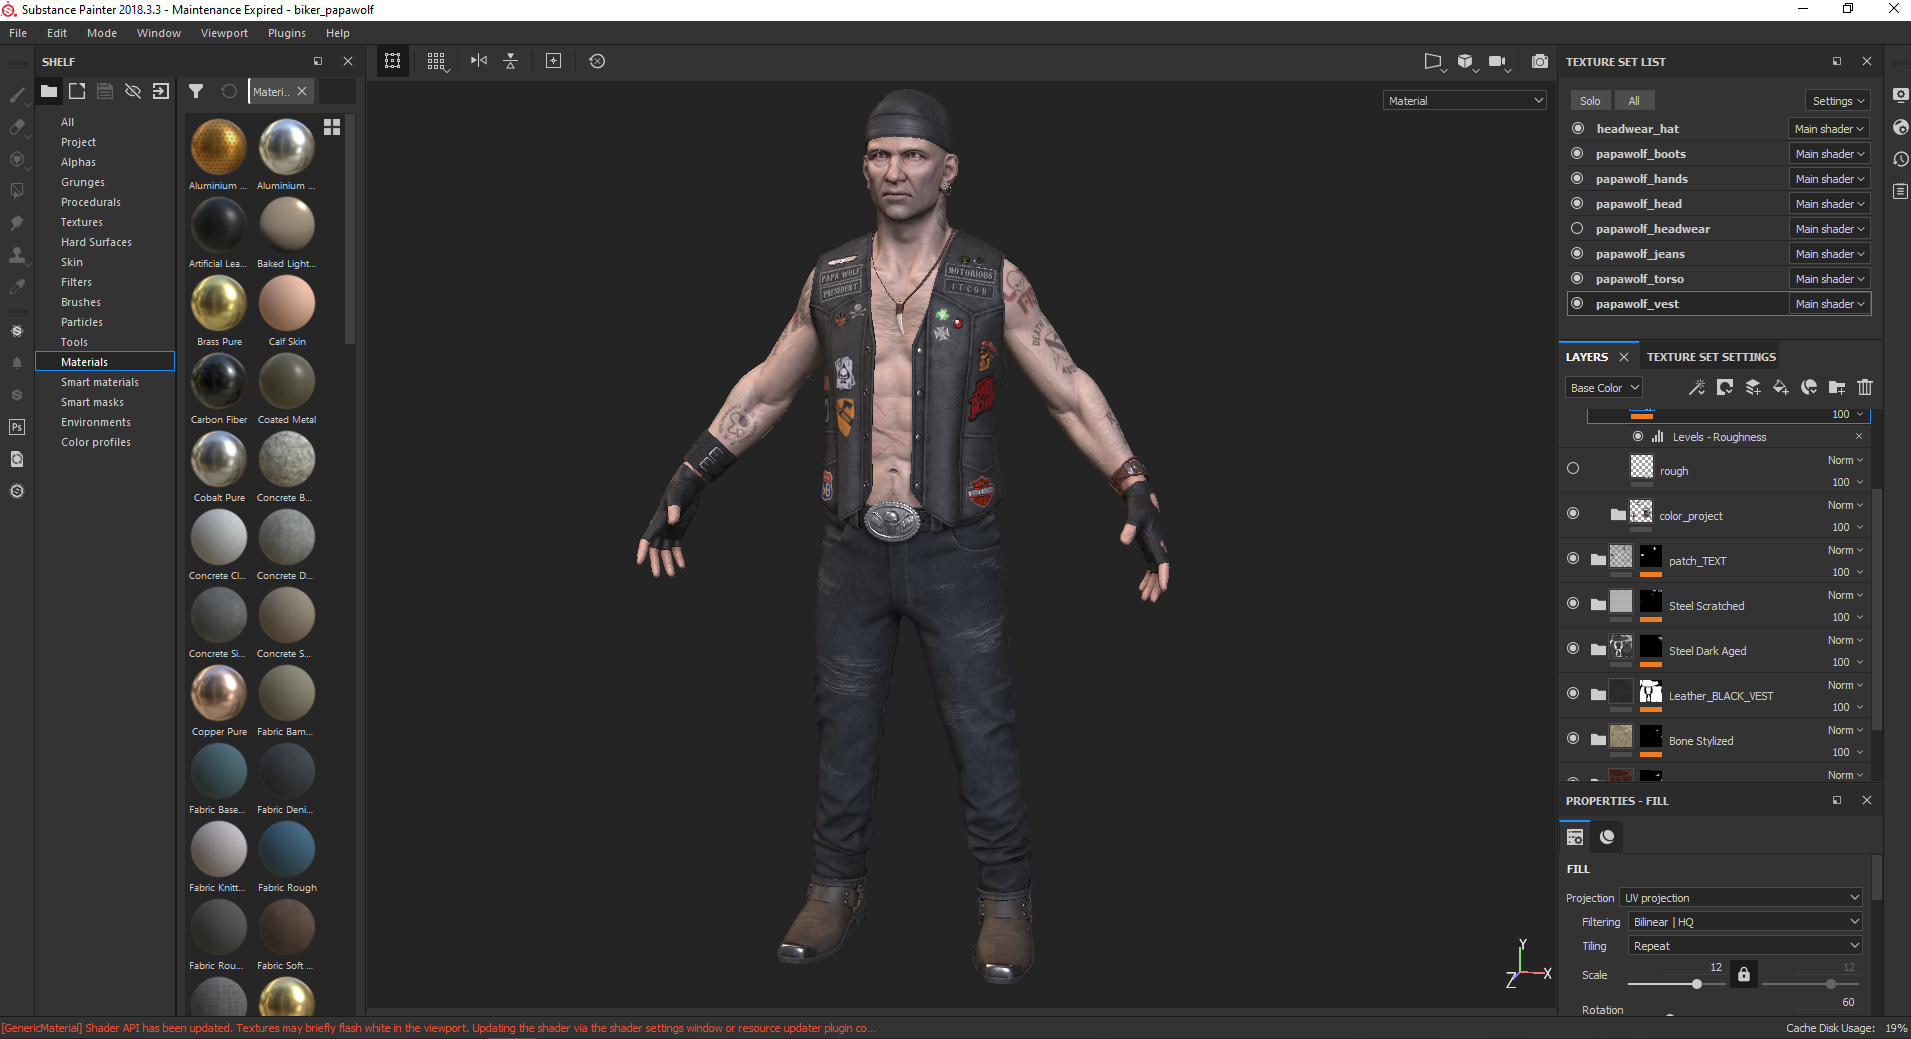
Once the character has been unwrapped, Rodrigo moved onto the texturing stage. For the base skin pore detailing, Rodrigo used XYZ Texturing and after that, he usedSubstance Painterto create all the different materials for skin, denim, leather, and more.
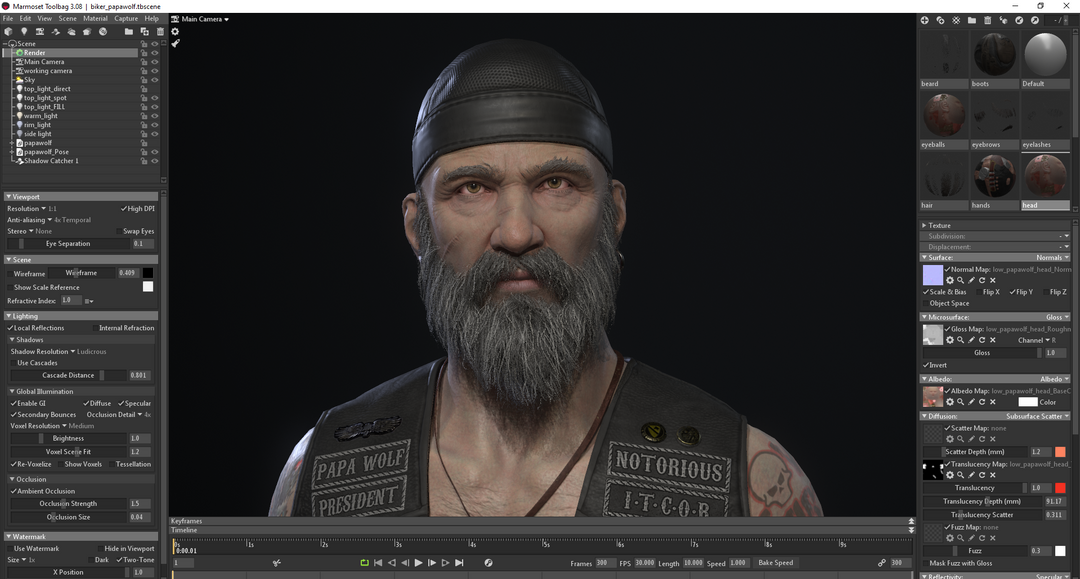
And that's it! The character is done! Below is the final render of the character inMarmoset Toolbag. Have a look at the other renders created on Rodrigo's portfolio here:Biker Character.
Follow us on our social channels for the latest news from CGHero
Have a CG Project?
Looking for assistance with your next project? Post your project and receive quotes from our Heroes.
Post Your Project