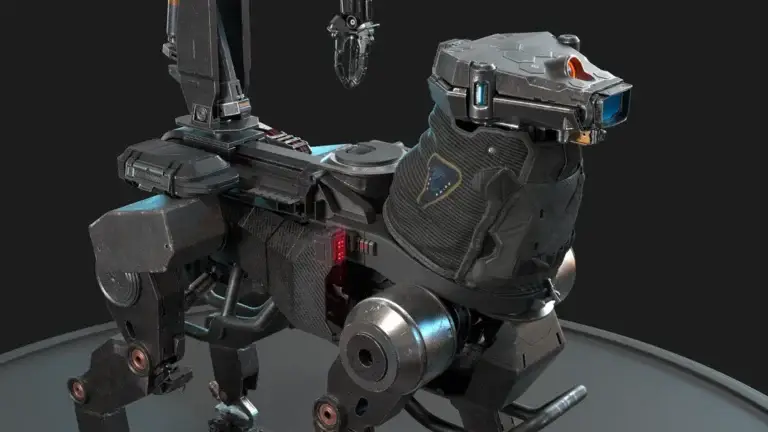
ZBrush Veteran Sadan Vague goes through the process of blocking out creatures form with the aid of ZBrush ZSpheres.
Before we take a look at the tutorial, we thought it would be good to explain what a ZSphere is. This is an advanced tool within the ZBrush which enables artists to quickly and easily build out block out assets using spheres, which can later be converted to a sculptable mesh.
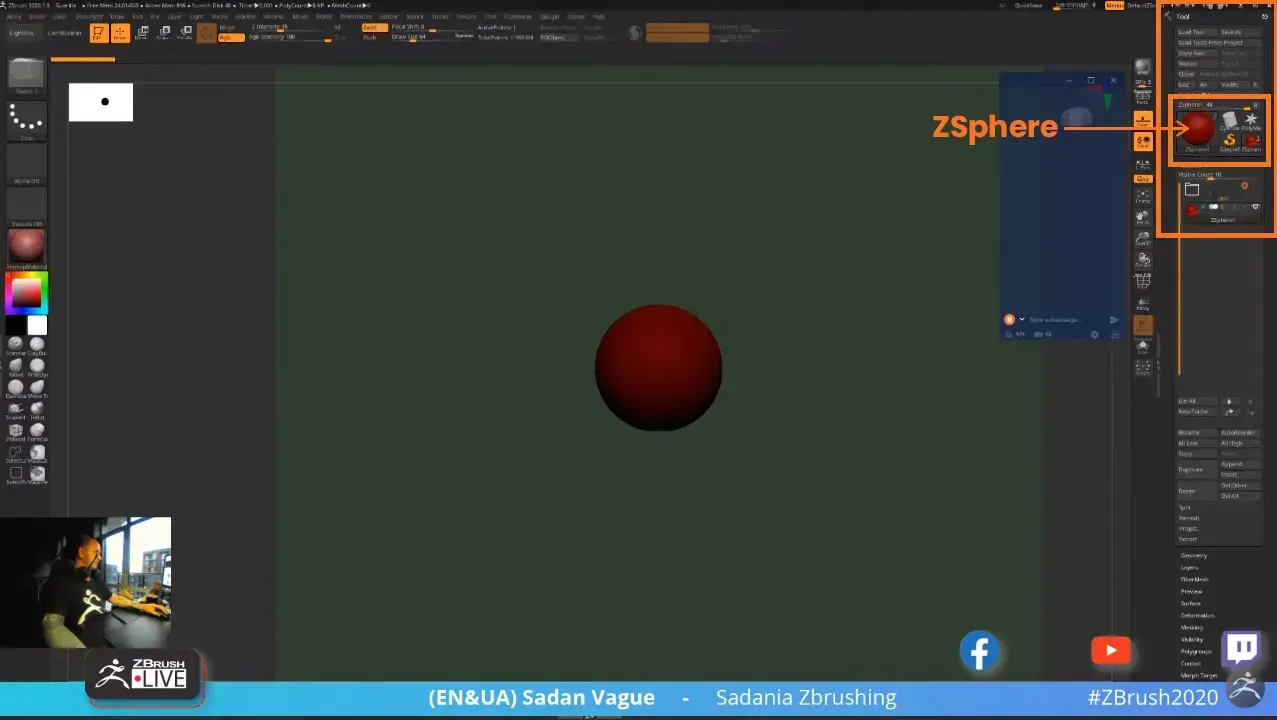
To get started, begin by adding a ZSphere into you subtool palette, so you have something to work from. This can be done by adding the ZSphere from the Tools menu.
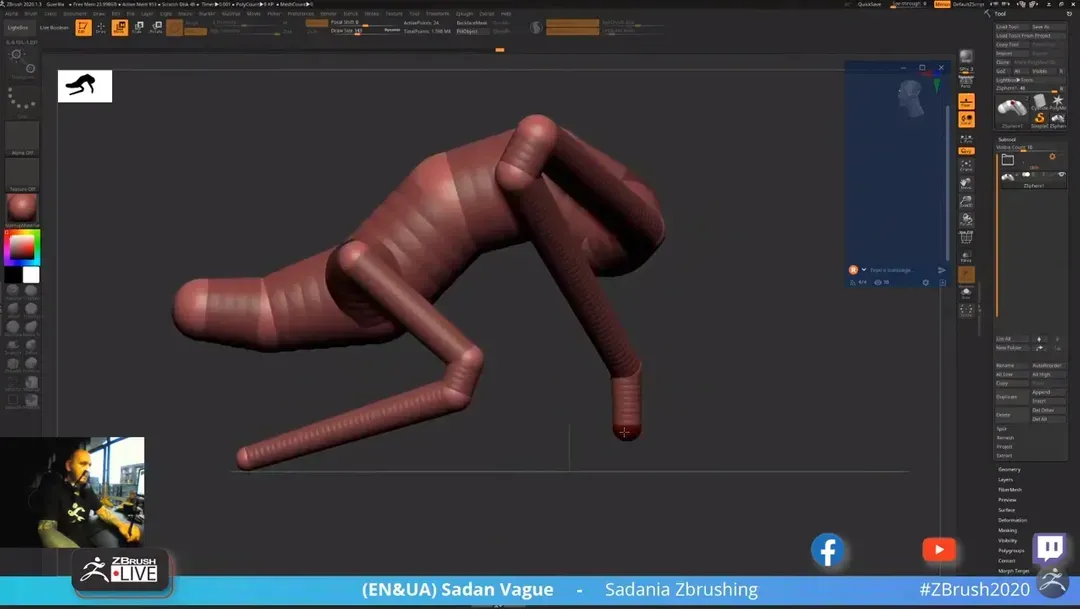
Next we can expand on the ZSphere by adding more ZSpheres. With symmetry enabled, click and drag on the bottom of the sphere to start adding appendages.
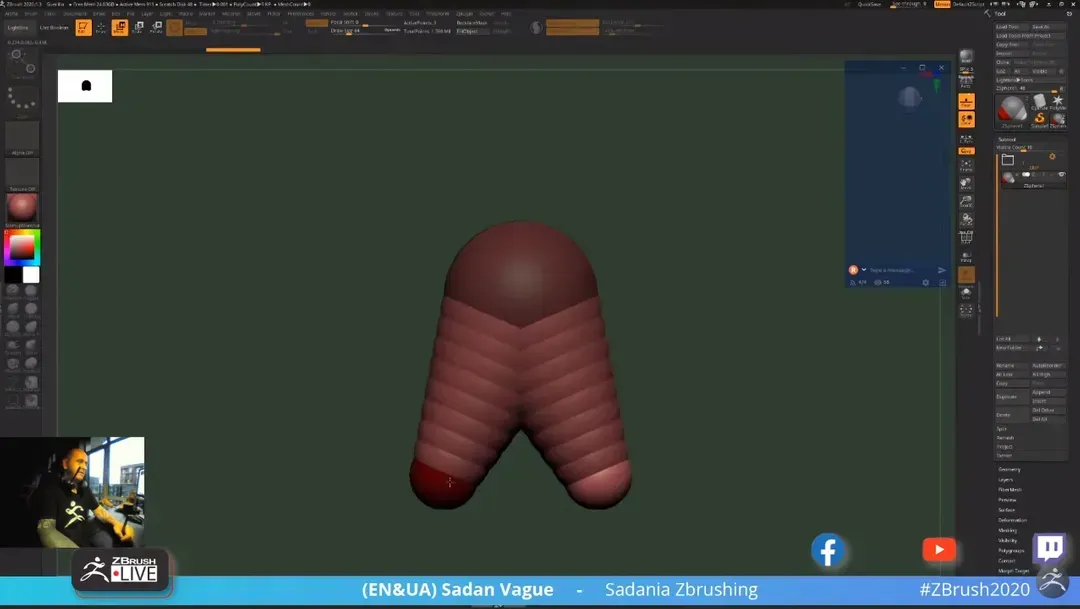
Feel free to experiment with shapes when starting your design. Use the Draw manipulator to add more ZSpheres and the Move manipulator to adjust length and position of your ZSpheres.
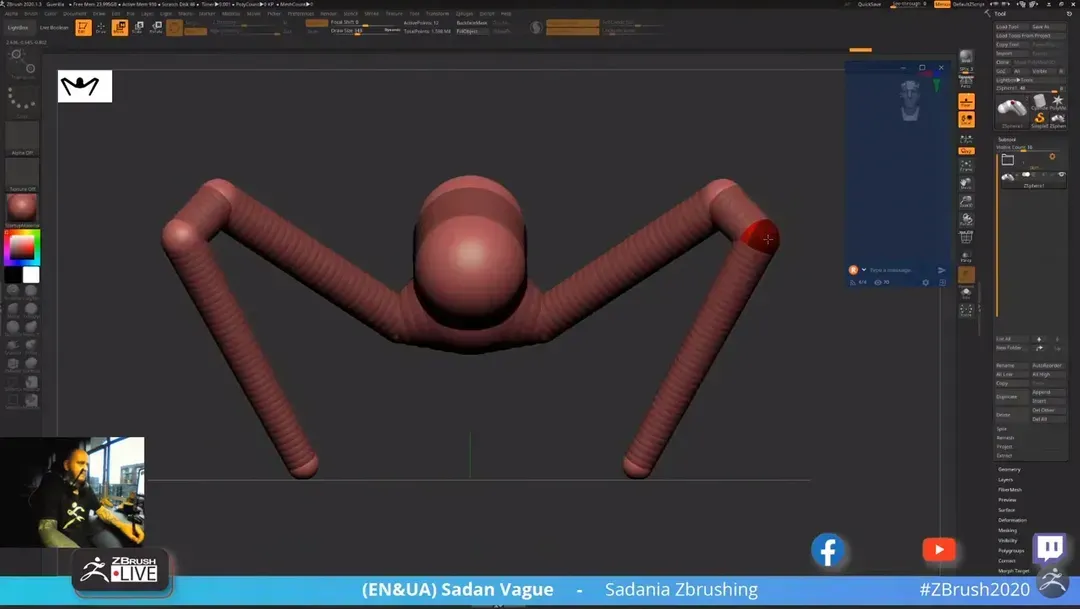
Having the symmetry tool enabled, you can start to add in legs/arm shapes. Symmetry can be disabled later on to allow for a more asymmetric look if required.
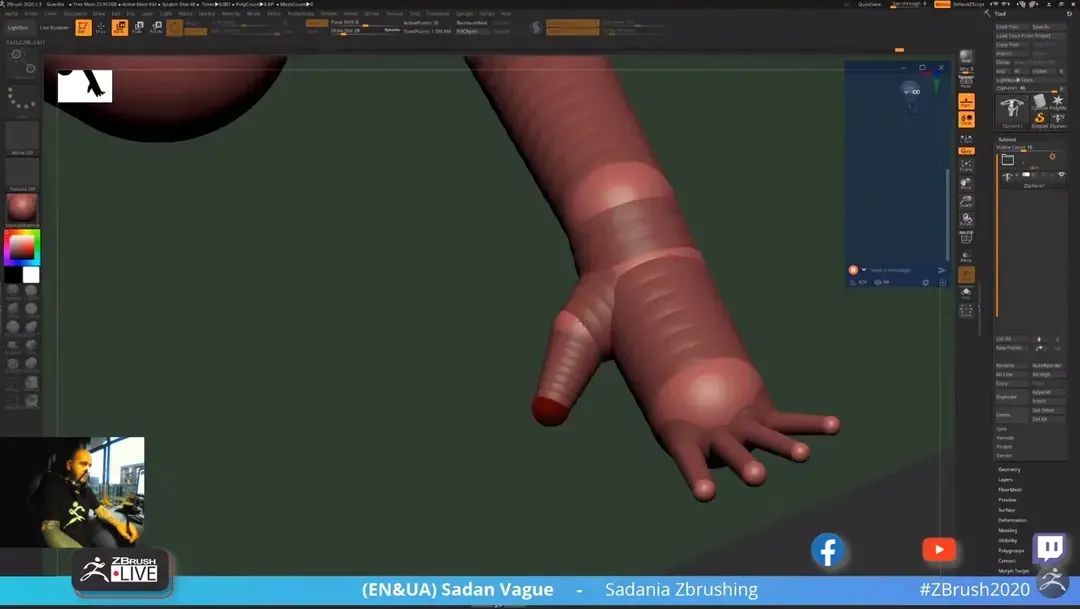
Using the same techniques shown, add in each separate finger as a separate ZSphere.
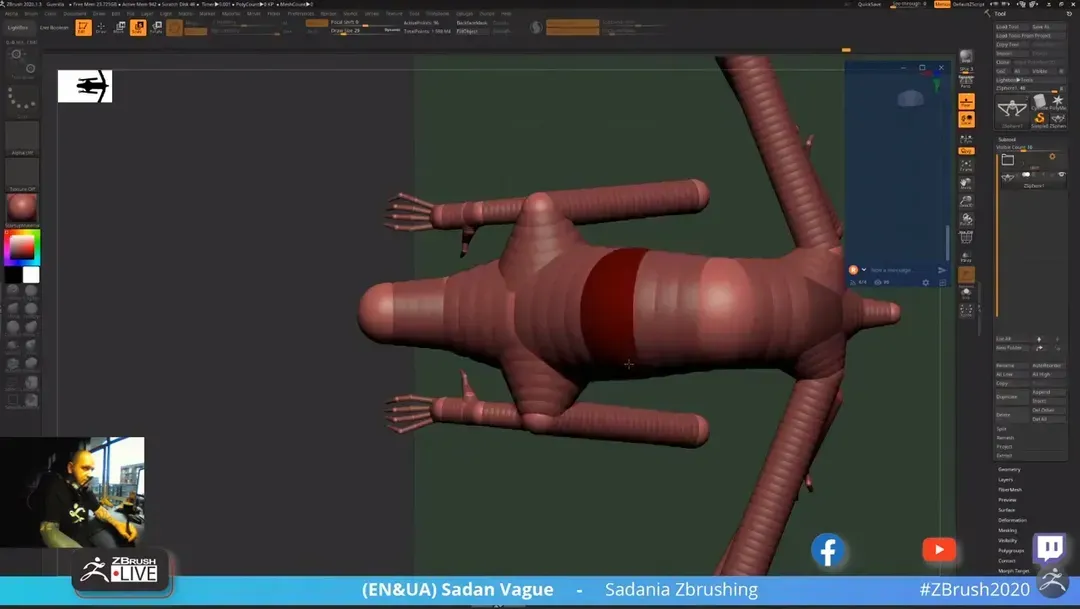
Use the scale manipulator to resize selected ZSpheres, broadening out areas like the shoulders and thorax.
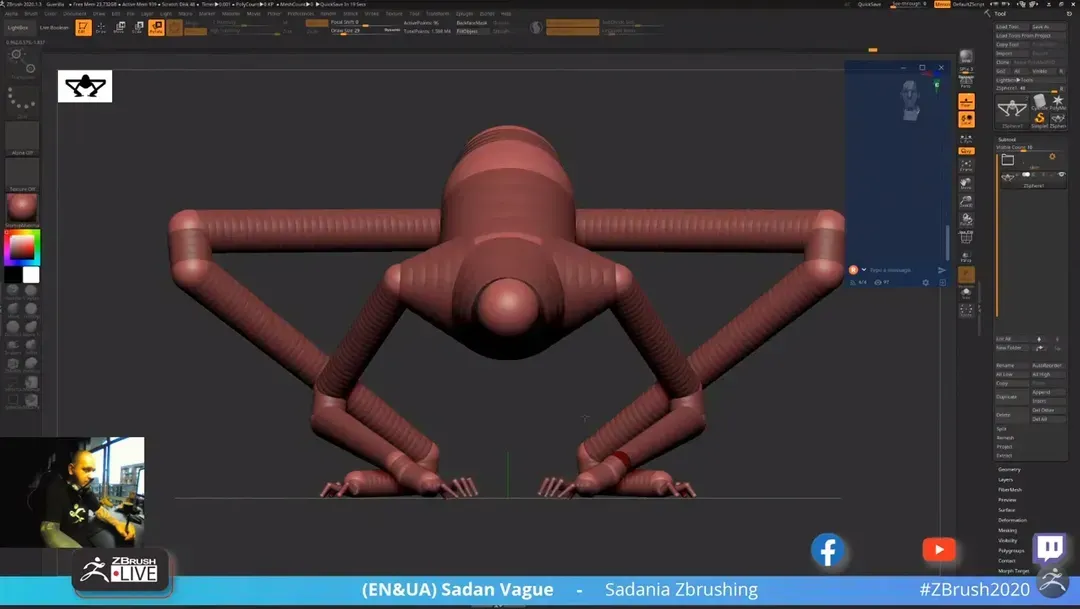
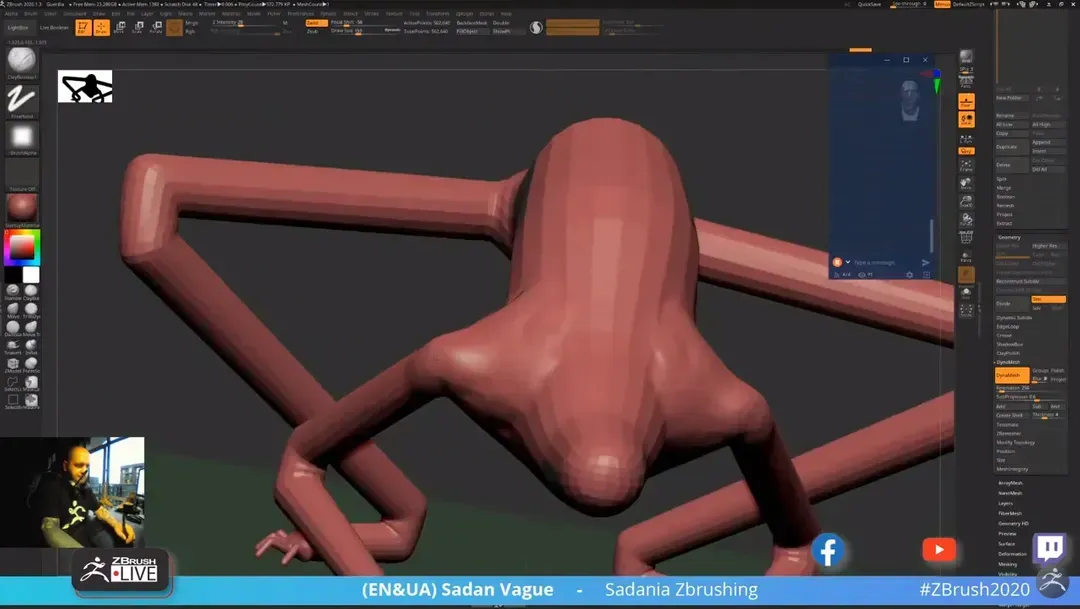
Do finally positioning of body parts, moving fingers and feet so they are flat to the grid plane.
Open Adaptive Skin tool menu and click make Adaptive Skin to convert the ZSpheres into a mesh you can begin to sculpt on. Once you have done this then select the newly created tool from the tool menu.
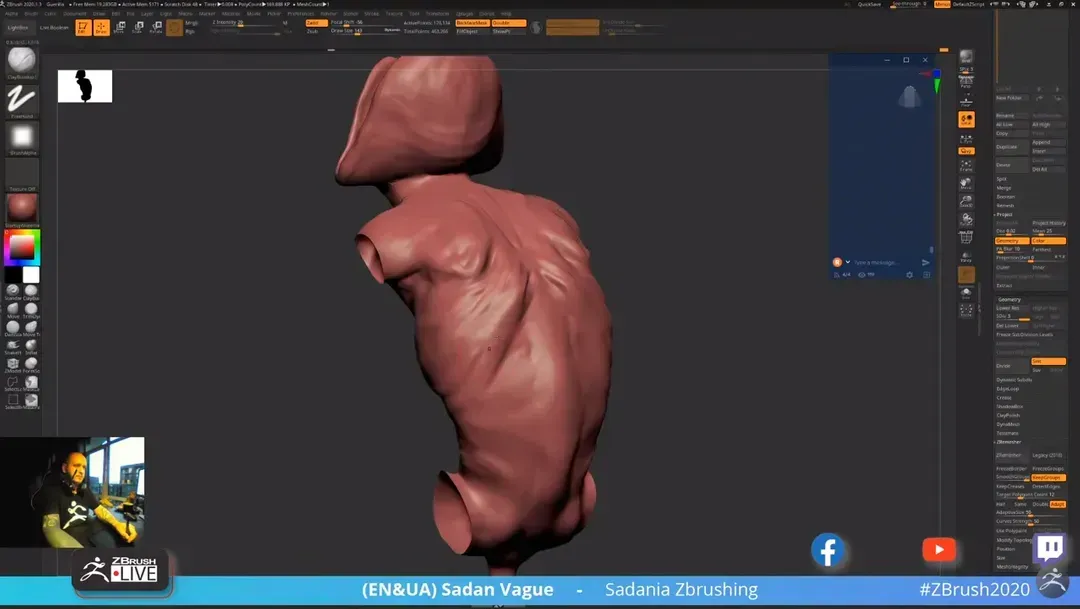
Enable dynamesh and begin to sculpt in the muscle groups and forms.
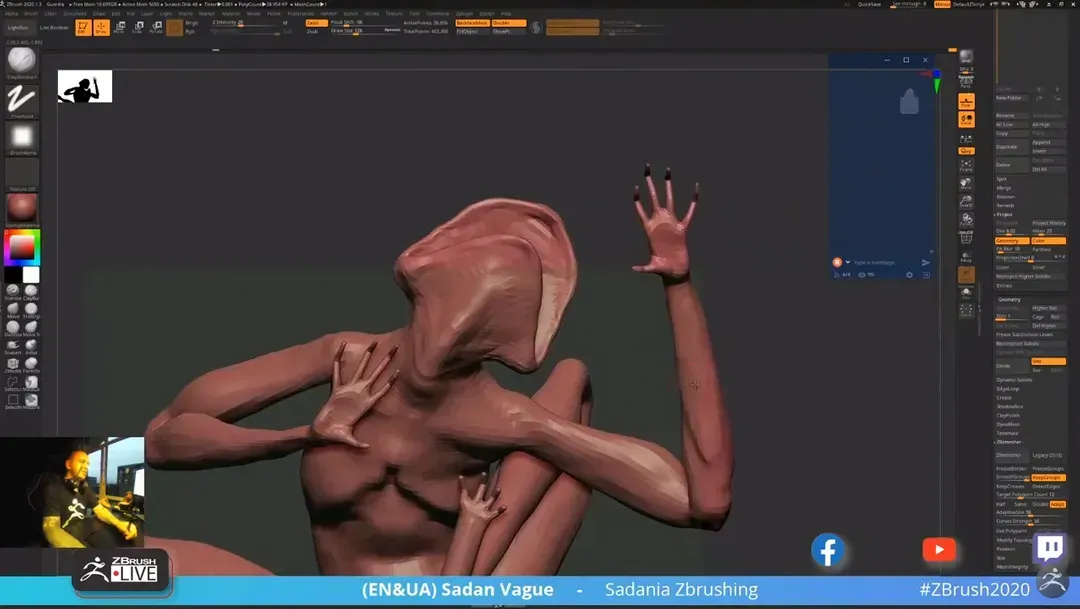
Now use any tools available in zbrush to detail your creature design.