Unreal Engine 5 has some amazing new water features, which allow instant creation of realtime water for your game.
In previous iterations, adding water to a level was time consuming, and creating a unique fluid and water system required specific VFX and animation knowledge. However, with these new features, that had previously been trialled in UE4.26, adding beautiful rivers, lakes and oceans is straightforward.
- In Plugins, ensure Landmass and Water are both enabled. Restart
- Go to the Landscape tool, and turn on Enable Edit Layer. Go back to your scene with your new landscape.
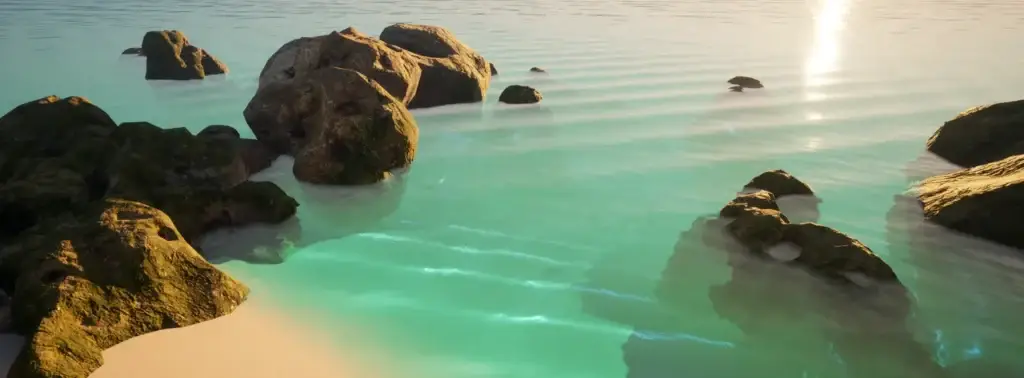
- In the create menu, type Water, and we’ll begin by creating an ocean. Drag the Water Body Ocean actor into the scene.

- Scale accordingly – I changed it to about half the size, but this depends entirely on your preference and scene.
- Under Details, go to Fall Off Mode and change to Width. This softens the transition between the surface and the water.
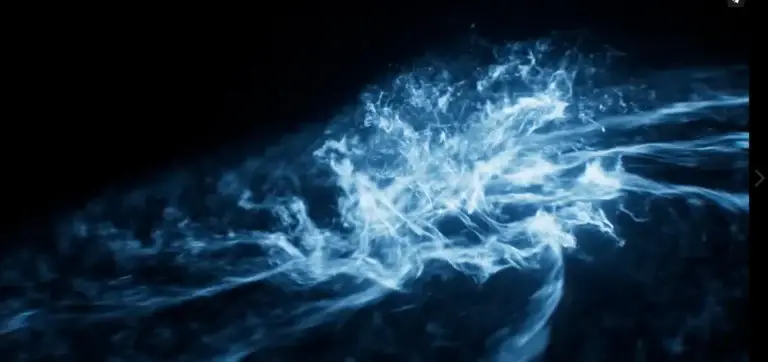
- Go to Wave, and under here go to Waves Source.
- Select Water Waves Asset Reference.
- In the content browser, right click and create a new wave – call this OceanWave1. This is a wave profile controller that allows you to manipulate and create custom node-based waves.
- Play around! This is what I used:

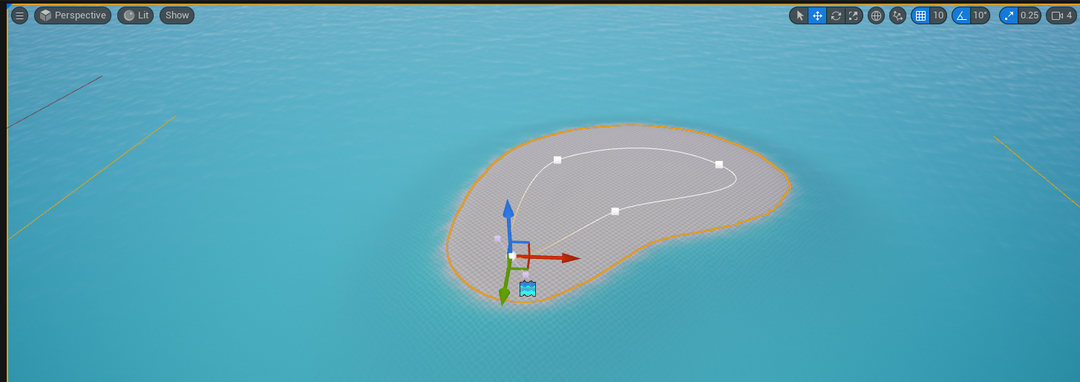
Back in the editor, you’ll see a spline map on the landscape. You can adjust this to your tastes, as to what shape you want the ocean to have. This is straightforward to control; by clicking on a spline control point, holding Alt and dragging, you can add a new control point.

Creating Rivers
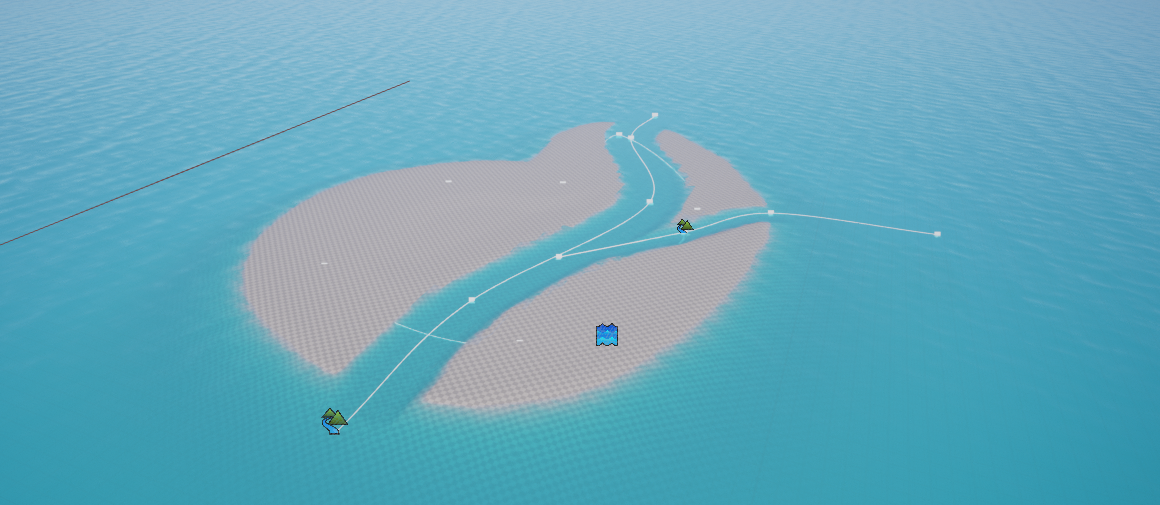
- Go back to the Water in the Create menu, and select Water Body River. Drag this onto the landscape.
- You’ll notice the weather mesh is made of splines. You Can extrude this by clicking and holding ALT – spread this cross the landscape plane however you like.

- Add a second river by repeating the steps above. In the details panel, you can scale this accordingly; I made mine a little smaller. Play around with the splines until you get a natural result.
Lighting Setup
To adjust the lighting, select the directional light and move accordingly by pressing CTRL+L. Make sure it is set to Movable.

I’ll dress up these scene with some Quixel assets to give an idea of what you can do with with a simple water scene. You can check out our other Quixel tutorial here.