Let’s go over some environment art skills, including splines, modular assets and lighting.
Let’s create a Snow Forest Environment in Unreal Engine 5!
Software Required: Unreal Engine 5 – any version
Estimated time: 20 minutes
Difficulty: Medium
For today’s tutorial, we’ll be following this video by PinkPocketTV:
By the end of this tutorial, you’ll have created an atmospheric snow forest scene, based off the awesome PinkPocketTV’s great 10 minute rundown, with a few alterations. We’ll be looking at Post Processing Volumes, dressing a scene with Quixel Bridge assets and Splines and Foliage with Unreal Engine 5’s built in tools.
Note: this tutorial differs a little from the original video; instead of using Blender nodes to create a modular road, we’ll be using Unreal Engine 5’s spline tools.
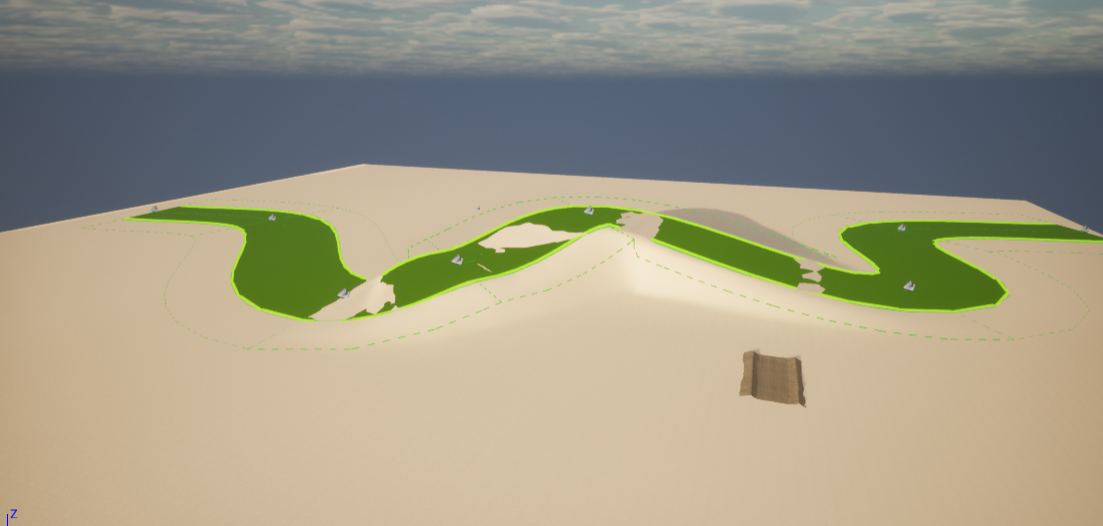
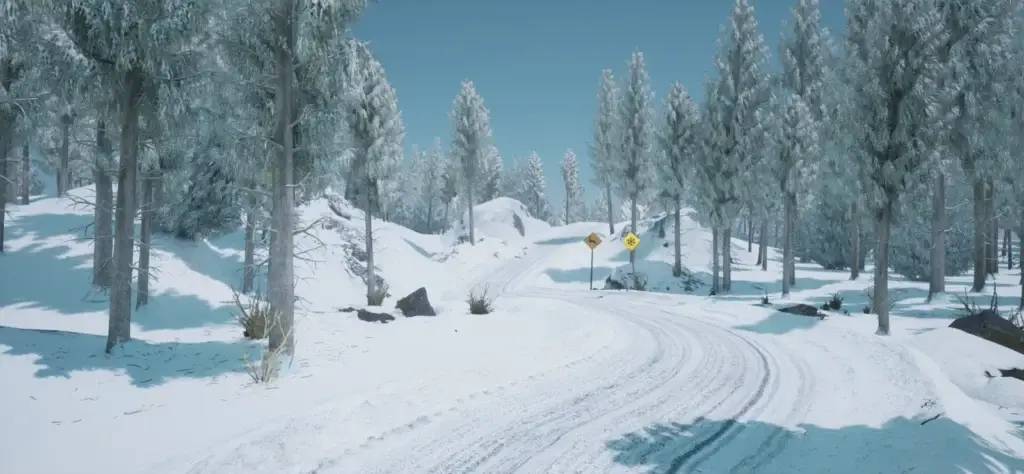
By the end of this tutorial, you should have something like this:

From here, you can either keep building, adding your own assets and VFX, or just have some fun! This is a great start to building some key in-engine skills, as well as developing some environment art and lighting familiarity if you’re a complete beginner.
To start, download this asset pack: we’ll need this in a moment!
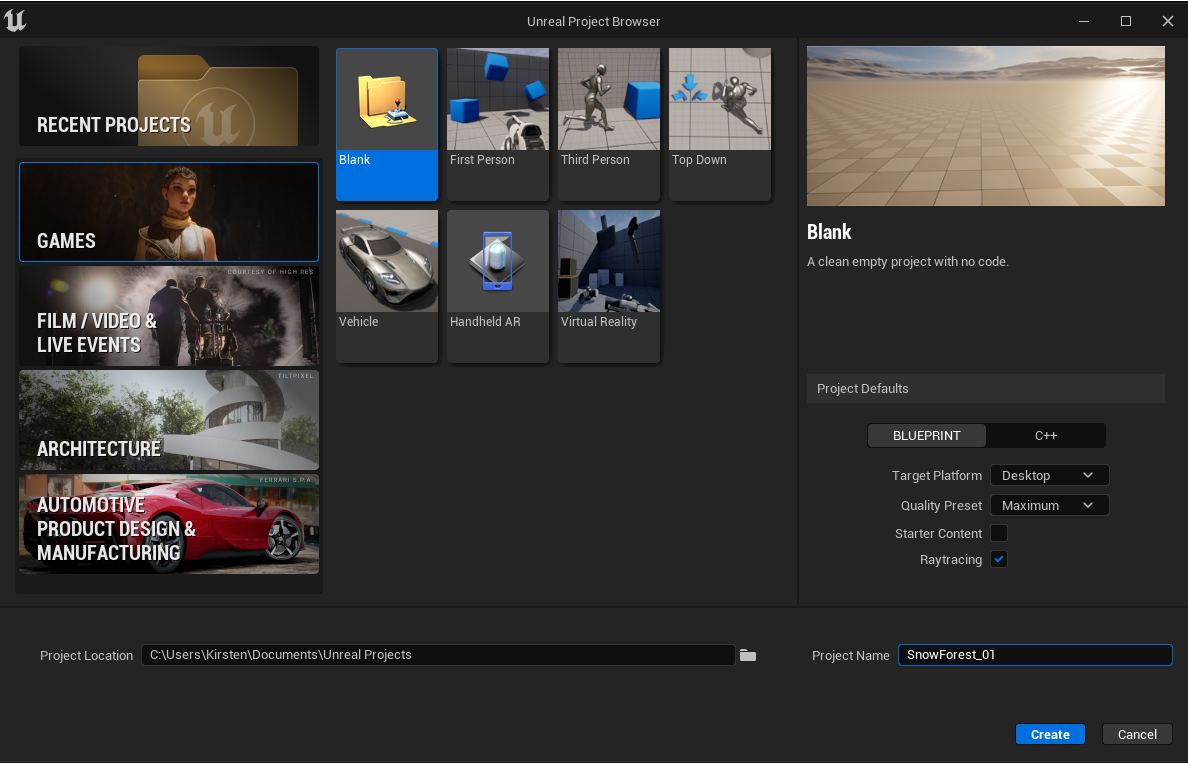
- Launch Unreal Engine – any version above 5.0.1 will do. Select Games, then Blank, and turn Starter Content off and Raytracing on; make sure the project is a Blueprint. We’ll name this SnowForest_01.
- Create a new level by right clicking in the content browser; name this L_SnowForest.
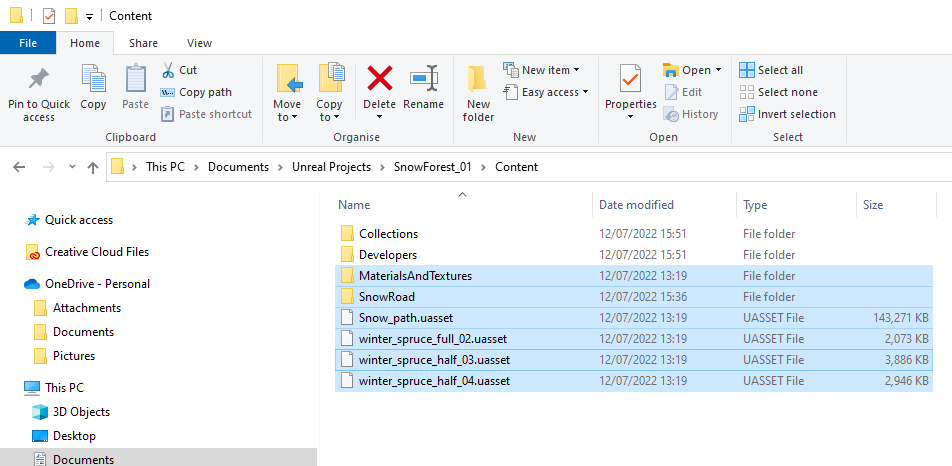
Next, open your File Explorer, and navigate to Documents\Unreal Projects\SnowForest_01; extract the Content and Config SnowForestAssets folder into here. Now, we’re ready to go! This folder contains the modular kit, with the trees and roads we will need.
Now, back in the browser, go to Create, Lights, and let’s add:
a. DirectionalLight, and under details, set Atmospheric Sun Light to On.
b. SkyLightMake sure these are set to Movable under details.
Next, Under Visual Effects, add:
a. SkyAtmosphere
b. VolumetricCloud
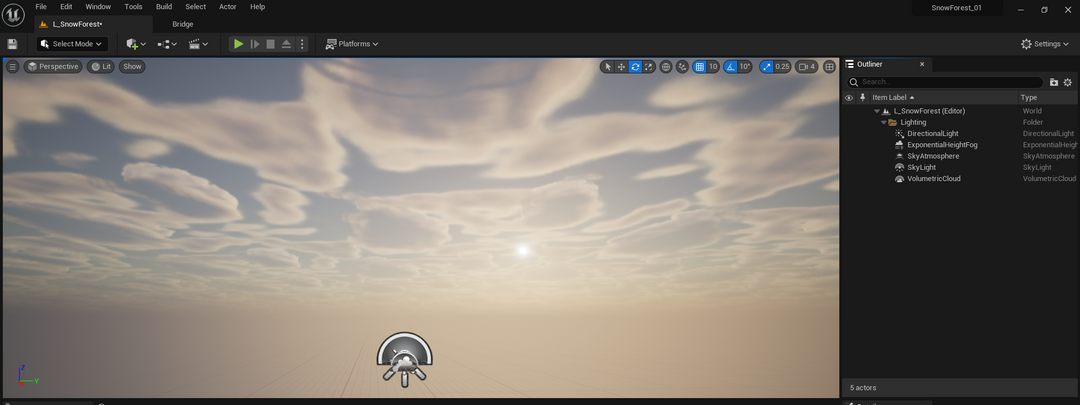
c. ExponentialHeightFog – under here, set the Fog Inscattering Color and Directional Inscattering to black; this is so it reflects the light of the atmosphere. Additionally, turn on Volumetric Fog.Now, select all of these in the outliner and right click, then Move To, and Add a New Folder. Name this “Lighting. It should look like this:
Let’s create the ground!
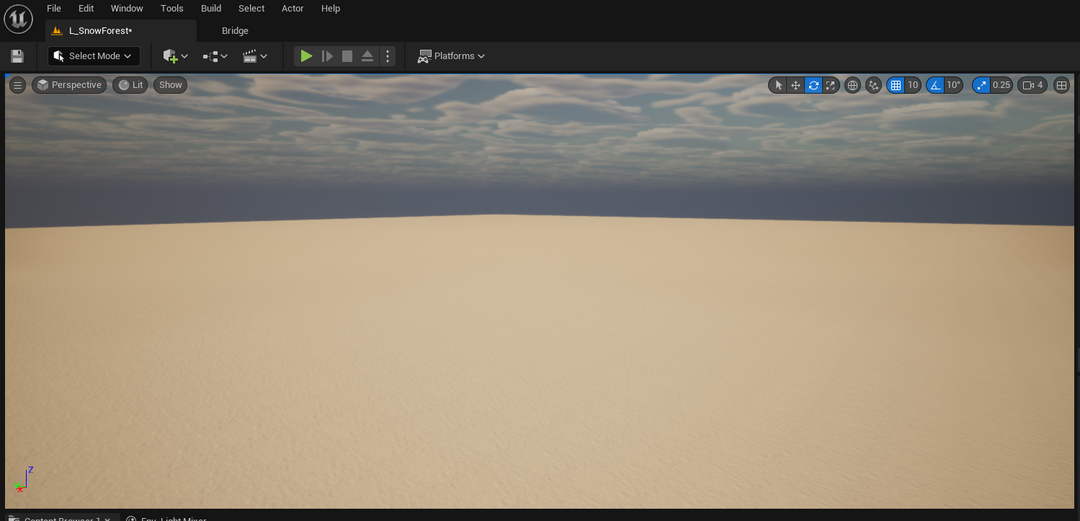
- Go to Landscape mode by pressing SHIFT + 2, or by going to the drop down menu in the top left corner. Go to Manage, then Create; this will generate a large, flat plane to begin working on.
An awesome feature of Unreal Engine 5 is that it will automatically UV planes like this, meaning materials can be applied immediately. Yay!
As usual, we’ll be using Quixel Bridge; this is built into Unreal by default, so you can simply right click in the content browser and navigate to add Quixel Content.

Select a Snow surface material, ideally a very muted/plain one – I like the simple Clean Snow. Download this in high quality, and add it to your project. It will appear in a new folder under Content > Megascans > Surfaces.
- Back in the editor, select the landscape we have just created and scroll down to Landscape Material. You can drop the Snow material you just downloaded here.
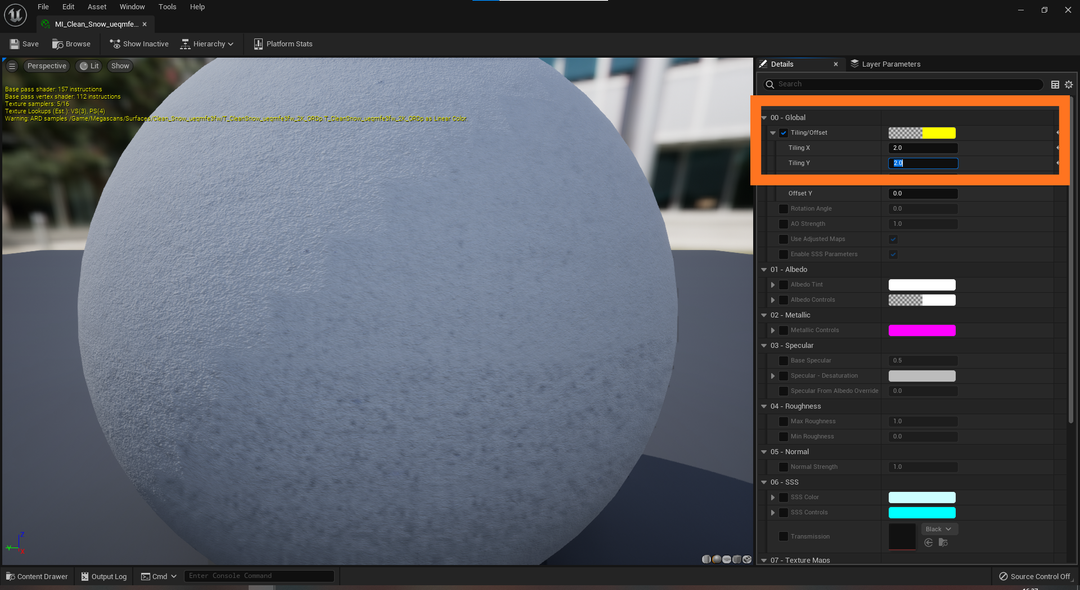
a. Optional step: As the landscape is very large, the material may appear quite repetitive; if so, right click on the snow material and select Create Material Instance. Open this up, and under Tiling/Offset, increase these volumes accordingly.
Finally, set this Material as the landscape material.
You should now have a large, snow covered landscape!
Now, let’s look at adding a road to the scene.
To do this, we’ll be looking at Splines; this is a tool that has been long implemented in Unreal Engine, however in this latest iteration, the tool has become far simpler – and far more powerful.
- First of all, select the Landscape under the Outliner, and select Enable Edit Layers.
- Now, back under Landscape Model, select the Later that has appeared and right click, and select Create. Rename this SplineLayer, and right click again, and select Reserve For Splines.
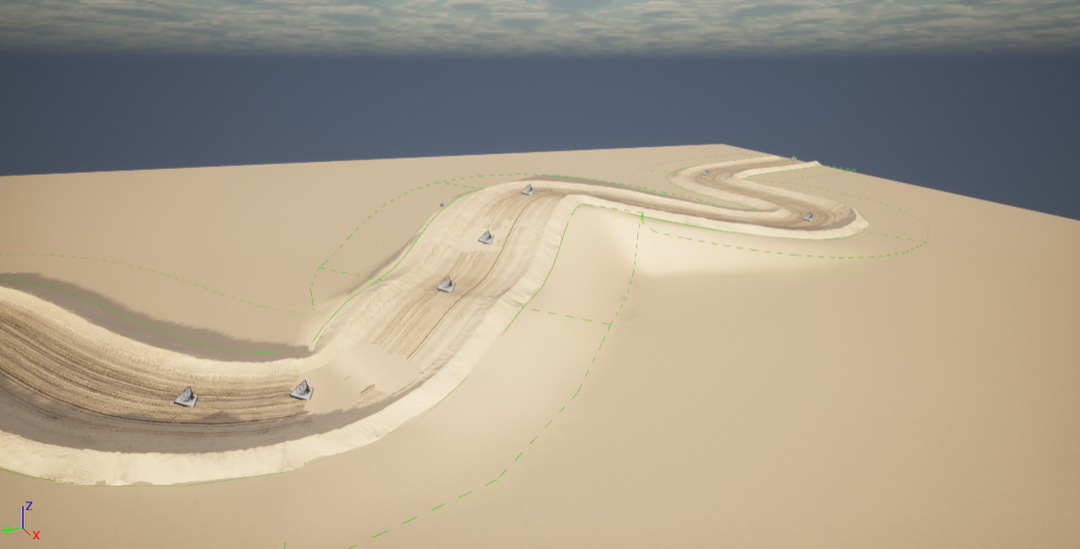
- Now, go to Splines under Manage, and Control + Left Click. A small mountain will appear – repeat, and you’ll see a green path form.
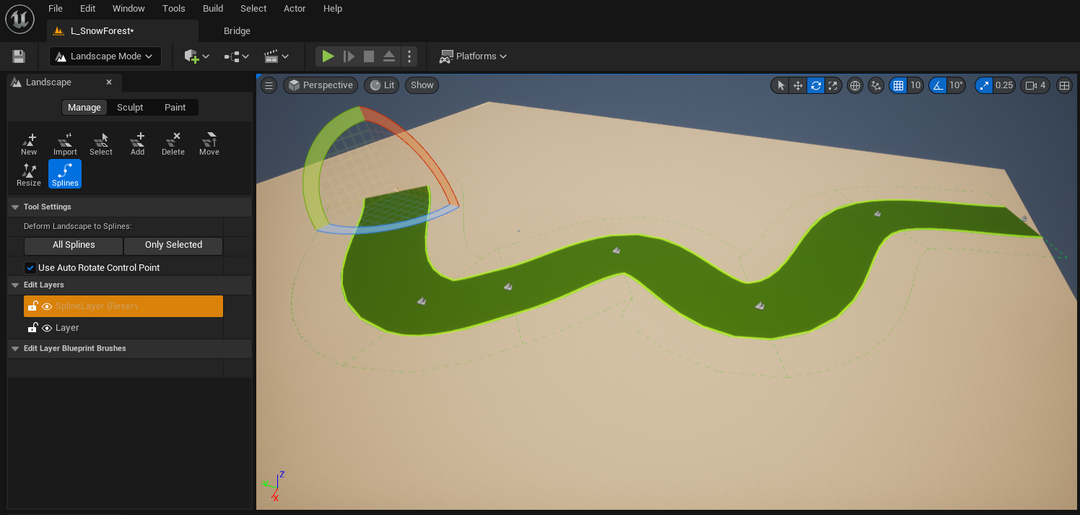
This is our spline! You can play around with this to get used to it – it’s quite fun. You can also play around with height to give a varied effect; it will automatically create a hill in the terrain!
Once you’re happy with your Spline, select one of the small Spline icons (they look like little mountains). Under Details, nect to Select all connected, select Segments. Then, under Landscape Spline Meshes, go to Spline Meshes and add an Array Element. Select the Snow Road you imported earlier.
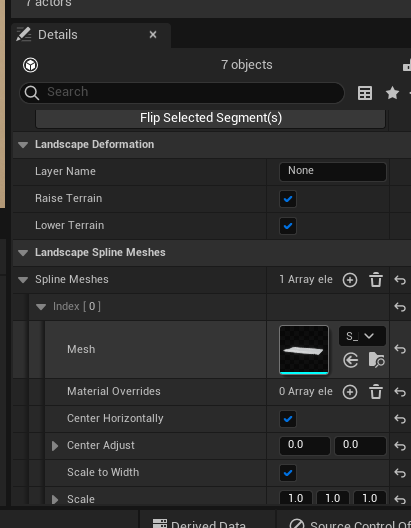
This will bind the mesh to the landscape – voila! The amazing thing about splines is that they can be changed at any time, too! Simply select the mountain icon on the spline at any time to move it to your preference.
Sculpting the landscape
From here, we’ll begin sculpting the surrounding area using the landscape tool. This will help give our scene a bit more realism, as well as give some variation to our trees when we add them in a moment.
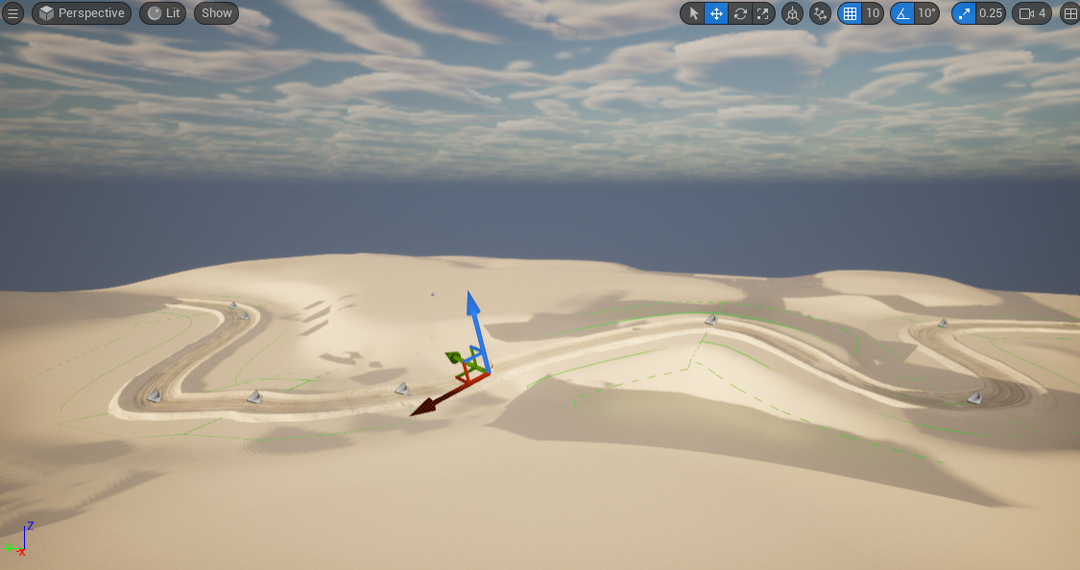
- Go back to Landscape mode, and select Sculpt. Select the first tool, the Sculpt tool, and simply begin painting the surface. Between each few strokes, use the smooth tool to give a more natural finish to the snow.
Adding Foliage
Now, let’s add the trees! These will be in the asset pack linked above, and will be under the content folder. To add foliage, we’ll be using the brand new Foliage tool.
- To begin, go to the top left corner and select the Foliage Mode; alternatively, press Shift + 3.
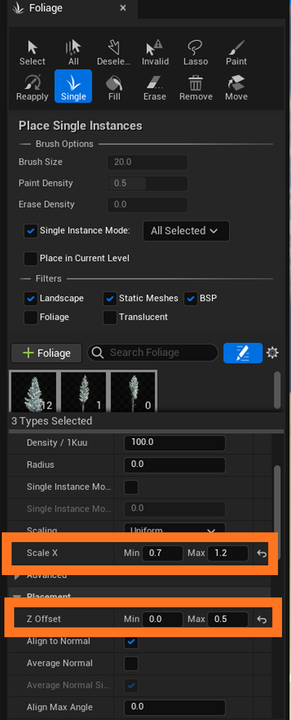
- Under “Drop Foliage Here”, drag and drop the three winter spruce trees we downloaded earlier. Scroll down, and you will find a detail panel for the foliage, where you can randomise the shape, rotation and scale of each asset as you place it. These are the settings I used:
Now, select just one of the trees – if you select all three, which is on by default, all the meshes will be placed in one spot, which we don’t want.
At the top of the foliage tab, select “Single”, and begin placing trees! This is a simple point-and-click method in the editor. You can change which tree by deselecting it in the foliage mode tab.
Note: a cool feature of Unreal Engine 5 is the built in auto optimisation tool, also known as Temporal Super Resolution. With the trees in the scene, as you zoom out you will notice the assets becoming lower quality, however within close range the resolution scales up massively.
Previously, artists would implement “Level of Detail” meshes, also known as LODs, manually to preserve a decent frame rate. However, with Temporal Super Resolution, games and scenes can run at high frame rates with great performance without any extra leg work. This is how UE5 runs at 4k resolution without optimised or subdivided meshes. Read more about Temporal Super Resolution here.
Continue adding trees until your scene is built out! Here’s mine:

Dressing the scene
Once you’re happy with your scene, let’s amp up the realism and add some details.
Go into Bridge, and type in snow, and grab a few snow assets! Also grab some rocks, rubble, grass, pine needles… Whatever you feel will suit your environment.
Go crazy! Add some assets around the side of the roads, the trees, ect. Add some life to the scene. Some tips for placing assets:
- Use the scale and rotation tools to give some variation.
- Don’t be afraid of scaling up and down if you need.
- You can use the foliage tool to scatter debris! Download some assets, such as a tree branch debris pack, and use the foliage tool to scatter some random branches around.
- Use Decals in Quixel much like assets, except these apply directly to the ground of the scene. Try some pine debris, rocks, pebbles, footprints.
After some tweaking, your scene should look like this!

Adjusting Lighting
Once you’re happy with the scene dressing, let’s move onto lighting. This procedure could be used for any foggy, wintery scene, such as the tundra one we made previously.
- Click on the exponential height fog we added earlier, and scroll to Volumetric Fog. Increase the scattering distribution and the extinction scale, to your taste. I want quite a foggy scene, so I set mine at 0.5 and 5.1, respectively.
- Rotate your directional light to adjust the sun’s position in the sky; I want quite a bright, intense sunlight, reminiscent of the midnight sun, so I set this very high in the sky. I also tweaked the intensity.
- If you want to add a tint to the scene, you can do so under Sky Atmosphere, and playing with the Mie Scattering values and colours. I went for a cool, blue tone, to reflect a cold, chilly day.
Final tweaks
Make sure all your trees are pointing upright for a more realistic and generally more even result. Rotate and angle your trees to increase visual variation, and use decals to scatter some debris.
Finally, your scene is done! In the next tutorial, we’ll look at vertex painting, post process volumes, and add some falling snow to the scene.
Thanks for reading, and a huge thank you to PinkPocketTV for letting us use his YouTube content. Check out his channel for more beginner friendly, ultra concise and amazingly helpful Unreal Engine 5 tutorials.