


Let’s look at the amazing effects of LUTs in Unreal Engine – with a free pack included!
Software Required: Unreal Engine 4.24+, Photoshop
Estimated time: 10 minutes
Difficulty: Easy
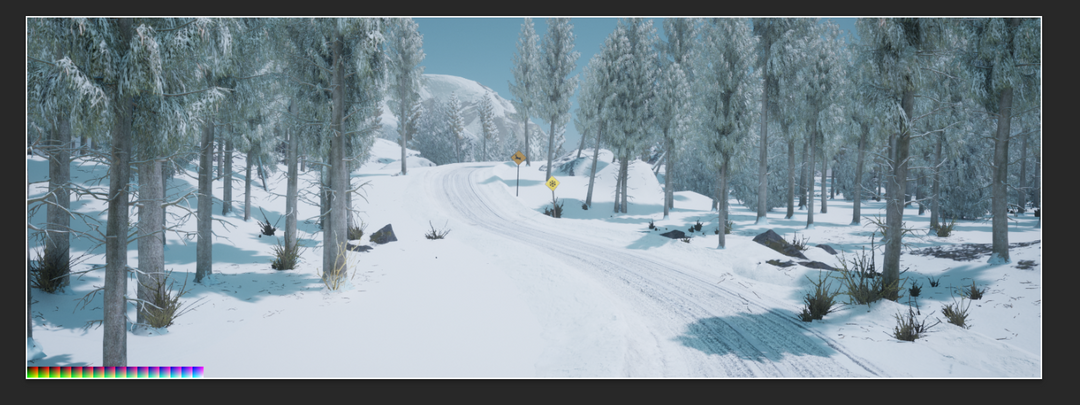
In today’s quick tutorial, we’ll be looking at one of the most effective post production methods for Unreal Engine. I’ll be using the Snowy Forest scene we made in the previous tutorial for this, but don’t worry, this works for any Unreal project. It’s also completely backwards compatible; I’ll be using UE5.1, but you can follow the exact same steps on any version after UE4.24.
This is a colour lookup table. It informs Unreal what colours to look for and render.
We’ll use one of these to give the scene more mood and atmosphere. A very similar technique known as colour grading is used in filmmaking to convey certain emotions and settings; for my scene, I want to try and amp up the colours slightly, and make the setting look more mysterious and chilly.
So! Let’s start.
Take a screenshot of your project and open this in Photoshop
Copy the colour lookup table strip above and paste this into Photoshop.
Merge the photoshop layers so this appears as a single layer, notice the colour lookup table in the bottom left of the image.
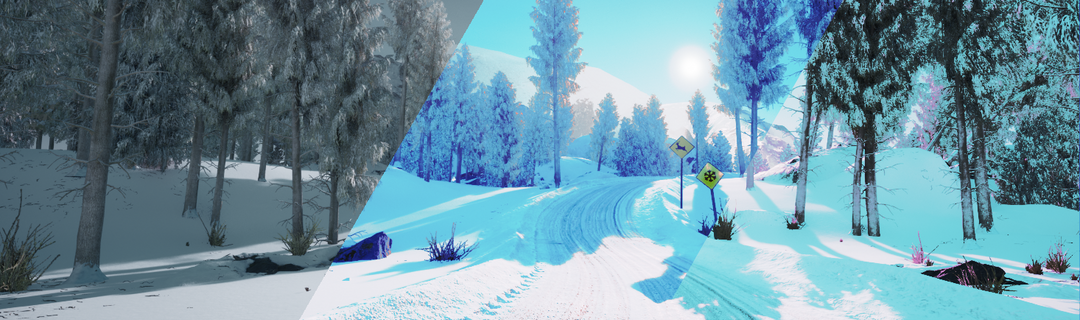
Go into Image, Adjustments, and go to Hue/Saturation, and play around! For dramatic effect, I made mine bright pink. Play around with some other values, if you like:
When you’re pleased with the final result, select the LUT in the layer, and use the marquee tool to select it. Open this on it’s own in Photoshop and save the file in your Unreal Content folder.
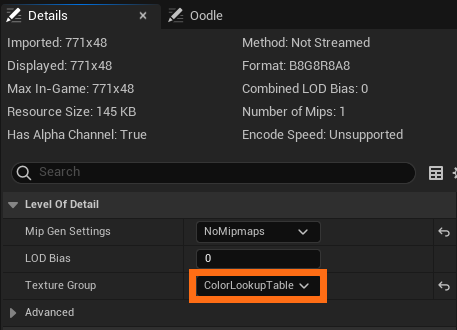
Now, go back into your UE5 scene, and open the LUT by double clicking. In the Detail panel, change the texture group to ColourLookupTable.
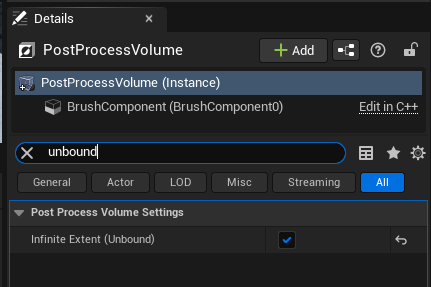
Back in your scene, drag in a post process volume from the Create tab. Search for “Unbound” and tick this to on.
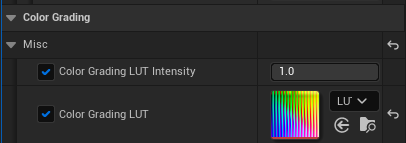
Now, scroll to Colour Grading, and under Misc, turn on both the Colour Grading LUT and Intensity boxes.
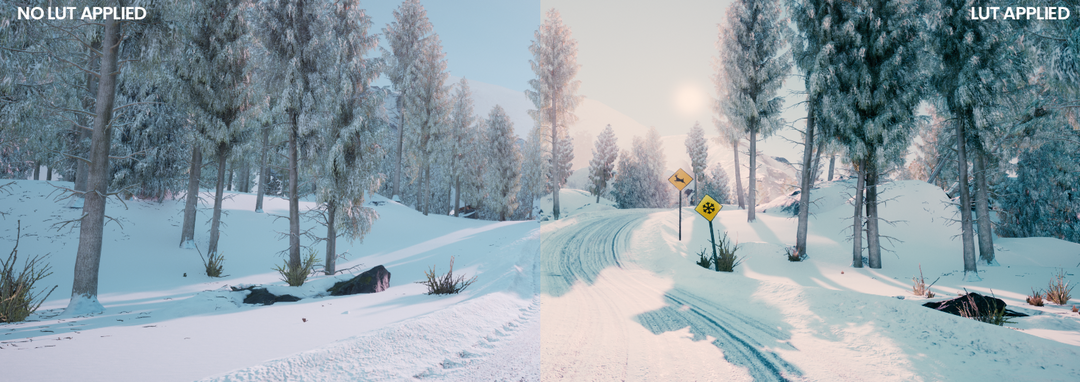
Voila – your colour grading from Photoshop is now applied in Unreal Engine 5. In our case we have taken a very dramatic colour to demonstrate as an illustration, below you can see other more natural or subtle colour grading examples.
In addition to creating your own LUTs, there are various LUTs that can be found available such as Amplify LUT Pack by Amplify Creations. Below is our result from this pack.