In this tutorial, we’ll be looking at a tutorial by pinkpocketTV on how to create custom, hyper realistic skies and clouds in Unreal Engine 5. Compared to the default skybox, this guide will help you create a unique, hyper realistic sky scene to begin your Unreal Engine journey.
In this tutorial, we’ll be looking at how to create custom, hyper realistic skies and clouds in Unreal Engine 5. Compared to the default skybox, this guide will help you create a unique, hyper realistic sky scene to begin your Unreal Engine journey.
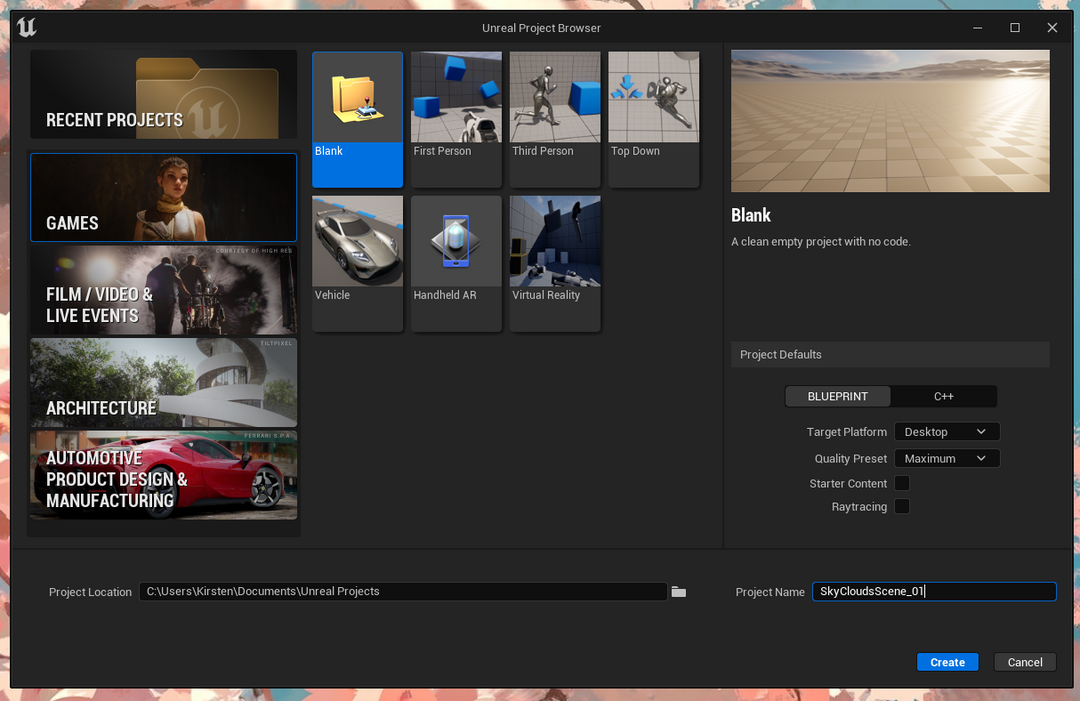
- To begin, open a blank project with no starter content.
- Delete everything in the scene by pressing Control and A. Then, hit delete. Your scene should look like this:
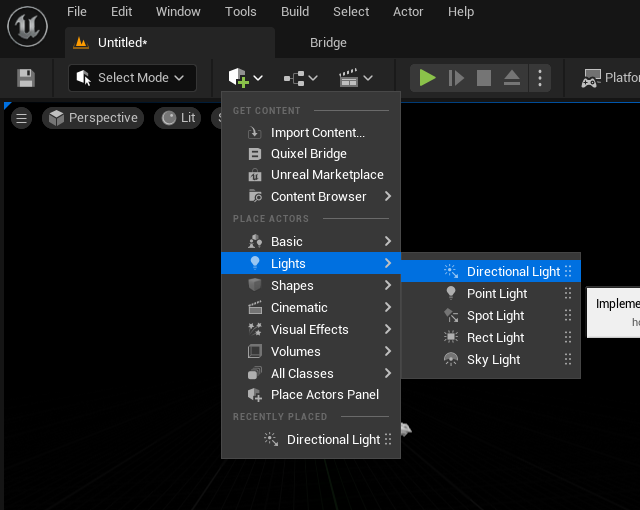
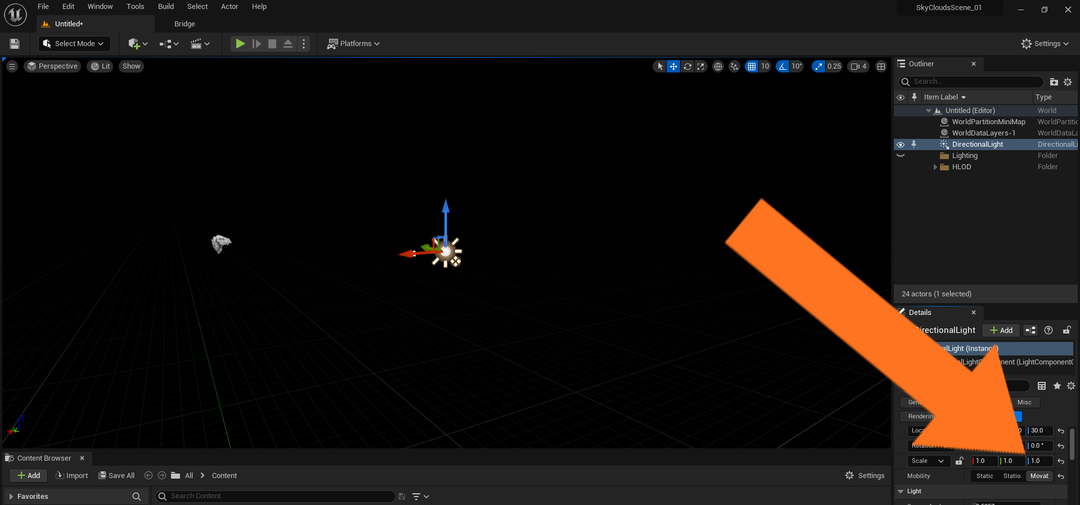
Now, under Create, add a Directional Light to the scene, and then under Details, make this Movable. Repeat these steps with a Sky Light. Movable light is the same as Dynamic Light; this allows Lumen and Nanite to work in the scene.
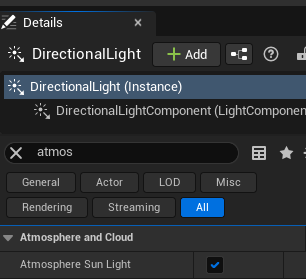
Go into Details for the Directional Light and turn on Atmosphere Sun Light.
- Go into the settings for the Sky Light and turn on Real Time Capture.

Your scene should now look like this:
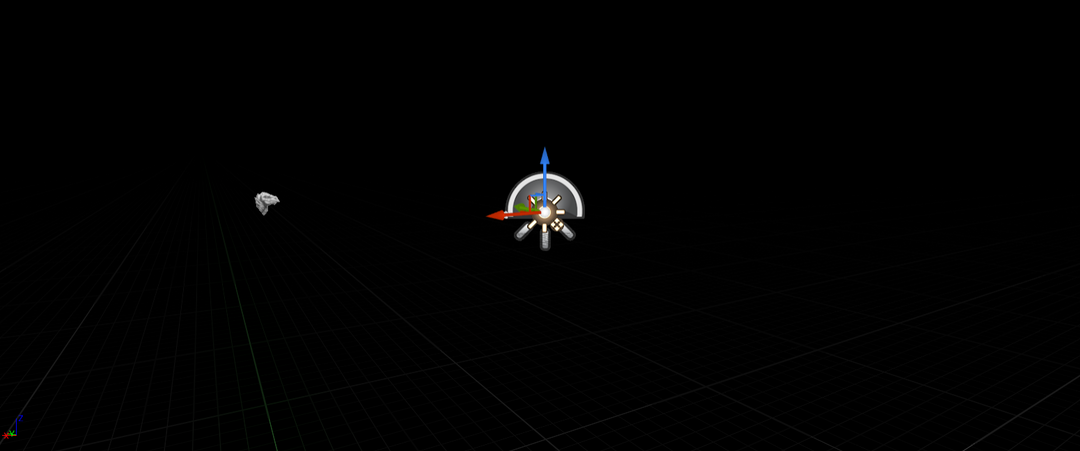
Not much different – yet!
- Go to Create and select Sky Atmosphere
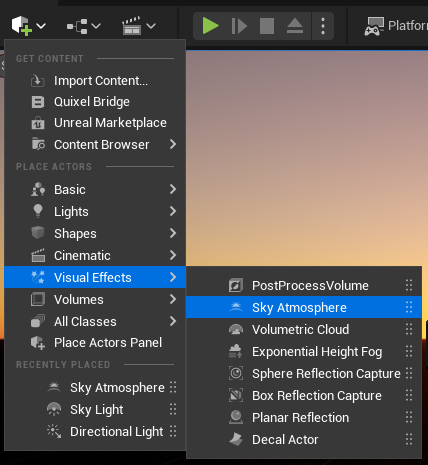
And – the sky will open up!
- Select the directional light, and press E to rotate the sun’s position. An awesome feature of Unreal Engine is that this will update realistically with where the sun is on the horizon; when the sun is low, a sunset/sunrise will appear, whereas when the sun is high, a bright, blue sky will appear. Dusk and night scenes can also be simulated this way. You can also play around with the rotation of this by pressing Control and L; by holding Control and moving the mouse, the sun will rotate.

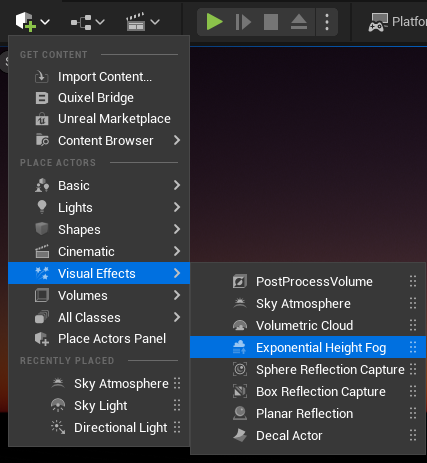
- Now, let’s light up the environment; go into Create, Visual Effects, and select Exponential Height Fog.
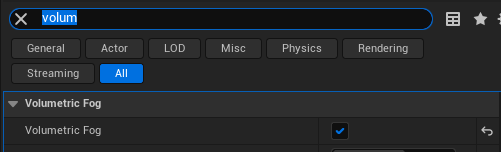
From here, go into Details and turn on Volumetric Fog, and turn both Directional Inscattering and the Fog to Black.
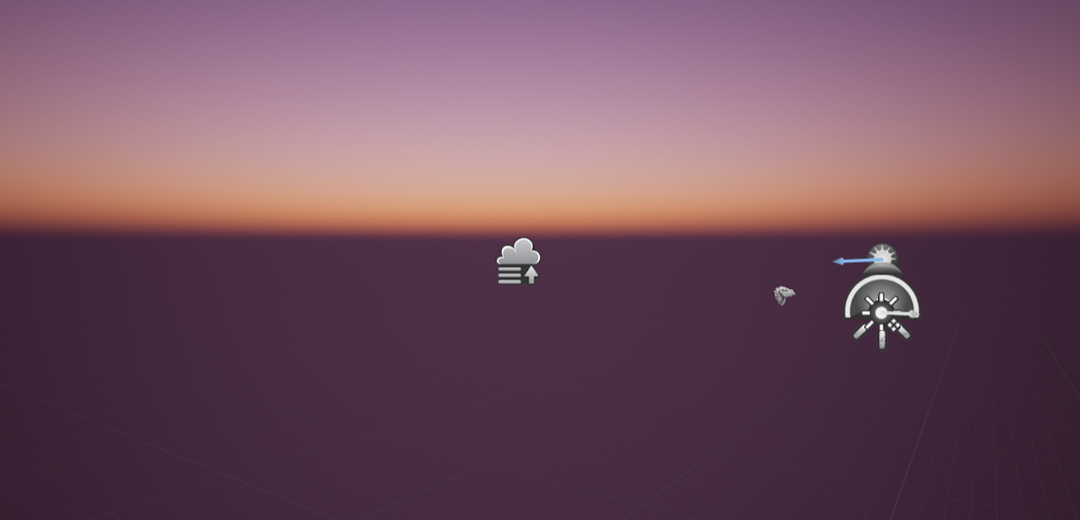
Depending on the position on the sun, your scene should now look like this!
- Now, in order to make the scene as beautiful as possible, we need to change the shaders a bit. This will help the scene look super realistic, as well as aid a subtle transition between the horizon and the sky. To do this, go into Project Settings, and turn on Support Sky Astmophere Affecting Height Fog.

After doing so, you will have to restart the engine; save up and hit Restart Now.
- Reopen the scene – it should be looking beautiful! I’m delighted to inform you that now is the time to add clouds.
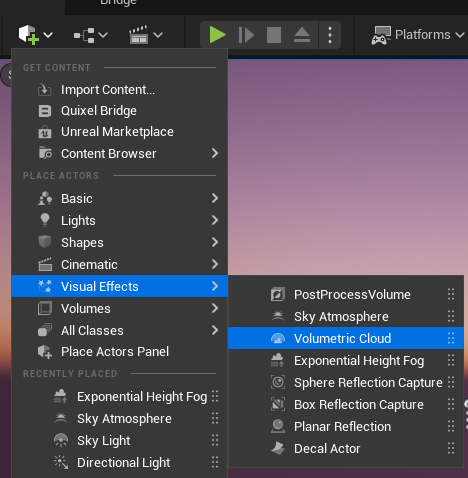
Go back to create, and go to Visual Effects, and select Volumetric Clouds.
And… Voila! Here is your first cloud. However, as dreamy as this looks, this could be far prettier. Let’s look at how to make this more realistic!
- Go to Plug Ins, under Edit, and type “Volumetrics”. Select this plug in, and restart the engine.

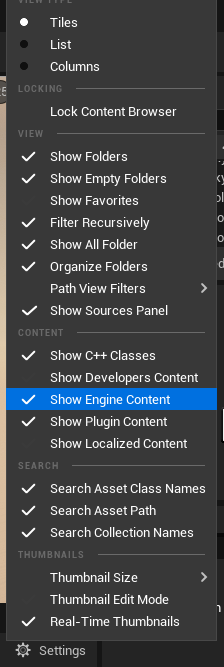
- Turn on Show Engine Content in the content Browser.
A folder called Engine will now appear in the content browser. Navigate to: Engine/Plugins/Experimental/Volumetrics/Content/Content/Sky/Materials
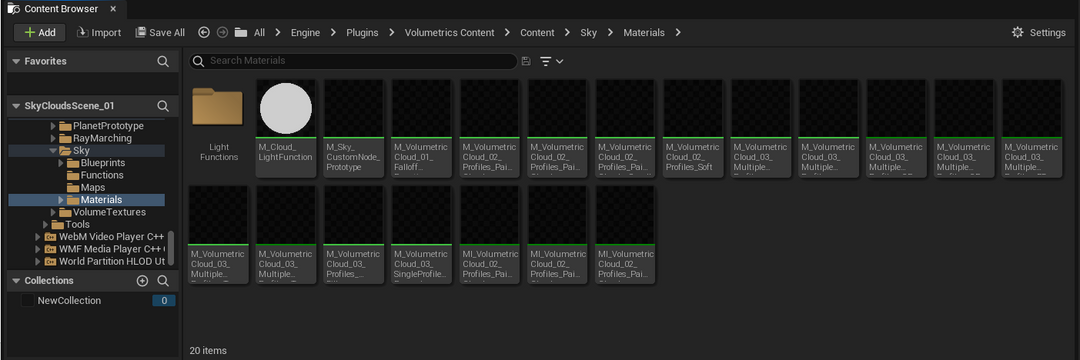
From here, you can select any of the 18 cloud materials available. Here’s one I created using M_VolumetricCloud_03_MultipleProfiles_ED_Storm:

You can make a material instance with any of these presets, which will then allow you to change things like speed, scale and density of each of these clouds! ☁
Creating custom skies and clouds in Unreal Engine 5
- Open a blank project – no starter content
- Delete everything in the scene – we’re going to start from scratch!
- Create – Lights – Directional Light, set to Movable (Ue5 ver of Dynamic Light)
- Add a SkyLight. Will give indirect lighting (shadows, lensflare, ect) Moveable and Real Time Capture option
- Create – Visual Effects – Sky Atmosphere
- Activate this by going into the directional light, and turn on Atmosphere Sun Light.
- Change the sun’s direction by rotating the Directional Light. Or, CTRL L to play around with the sunlight!
- THE GROUND!
- Visual Effects
- Exponential Height Fog
- This lights up the ground! Let’s play around with this to make it more realistic.
- Set both the fog and the directional interscattering to a dark colour – navy, grey or black work well
- Project settings
- Fog
- Support sky atmoshpere affecting height ✅
- Save and reopen scene
- Clouds
- VFX
- Add volumetric cloud object
- Lets make it realistic!
- Edit
- Plug ins
- Volumetrics plug in – enable
- Show engine content
- Show plug in content
- Go to Volumetrics Content
- Content > sky > Materials
- In cloud material, click Use – this will make hyper realistic clouds
- Clouds – Layer
- Play around with these
- Lighting too! bloom ect
The scene is now ready for whatever you’d like to do – environment art, renders, level design, ect.