
We come across 3D digital models every day. But unless you are in the industry you may have no idea how they are made and their various stages. In this article, we will go over the various stages when creating 3D models.
Before beginning any actual 3D modelling it is best to have a solid foundation. This is where Concept Art comes in. It can be defined as:
“Concept art” is a visual representation that tells a story or conveys a certain look.’
You can think of it as a plan that you can refer to when creating the actual model. It allows you to test various ideas before committing more resources to them.
The concept art stages are quite fluid and vary from person to person, studio to studio. However, they typically start out with various Thumbnails and then move forward with a few into Initial Line Drawings. The level of detail increases with each stage as you move forward until you arrive at the Final Concept Art.
You can see examples of the various stages below.
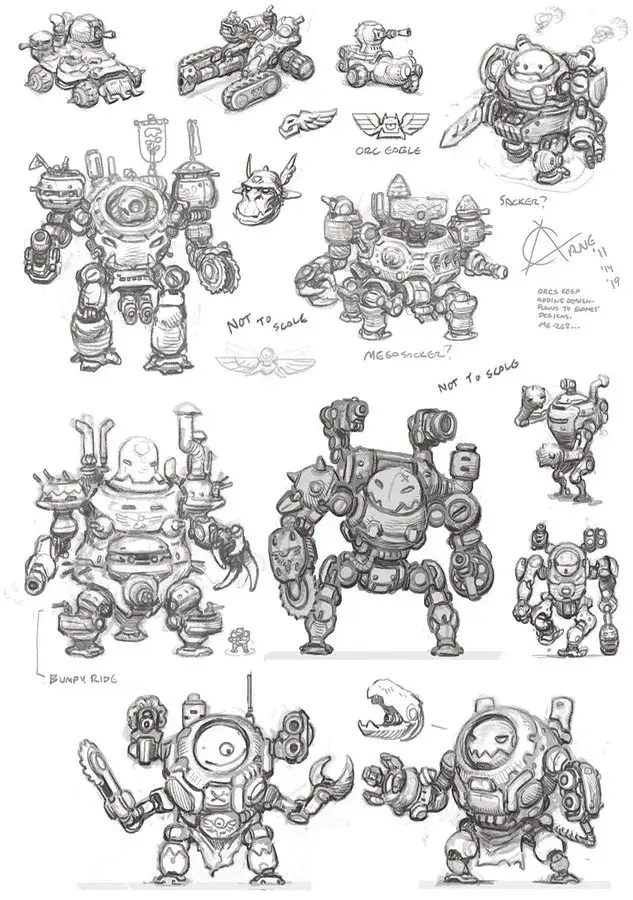
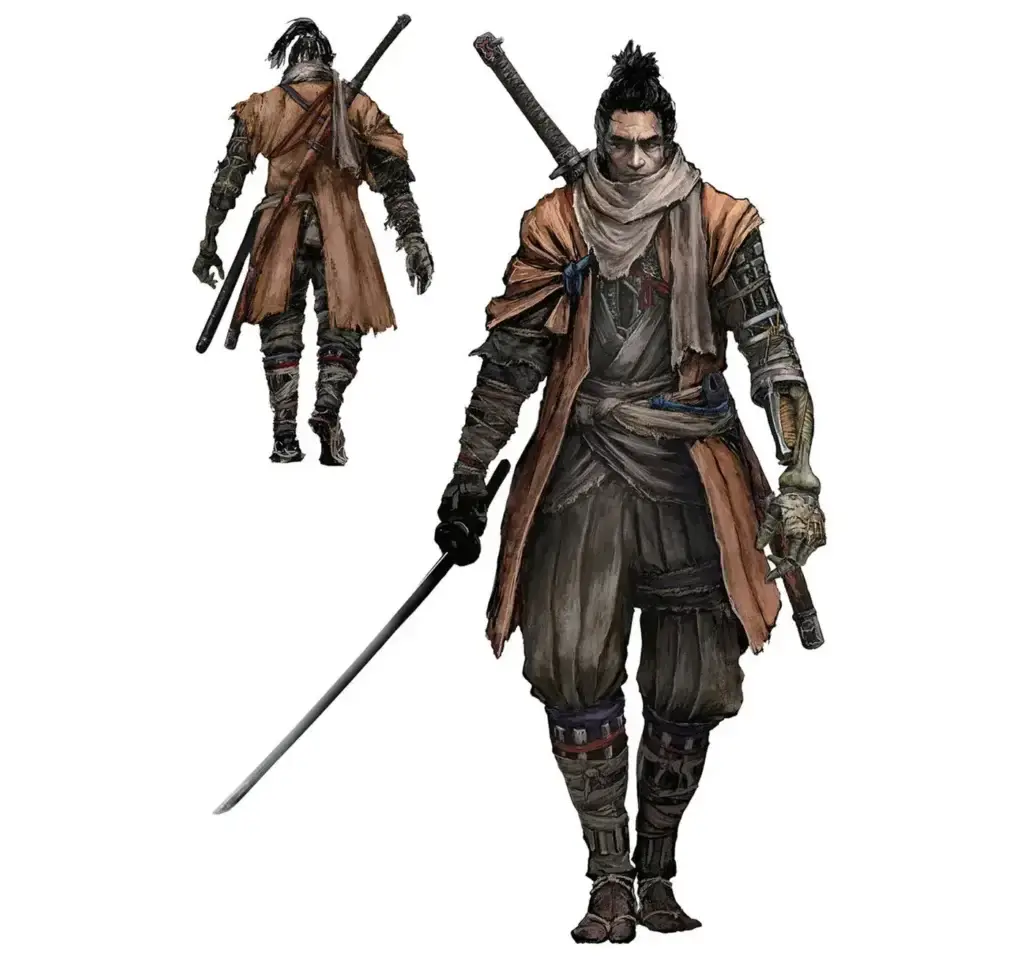
1. Thumbnails
2. Initial Line Drawings
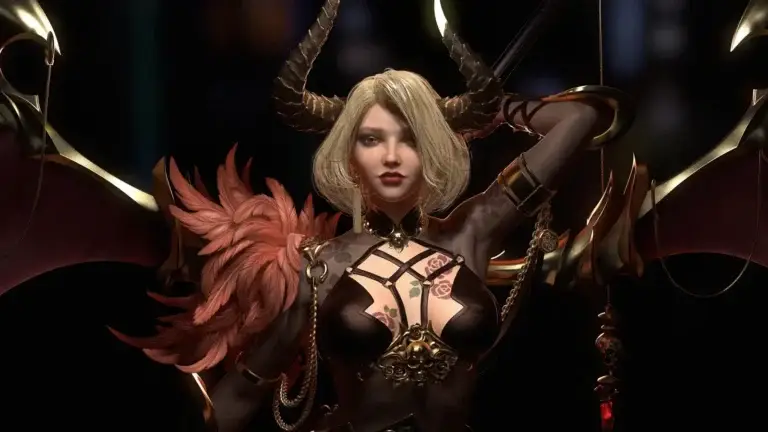
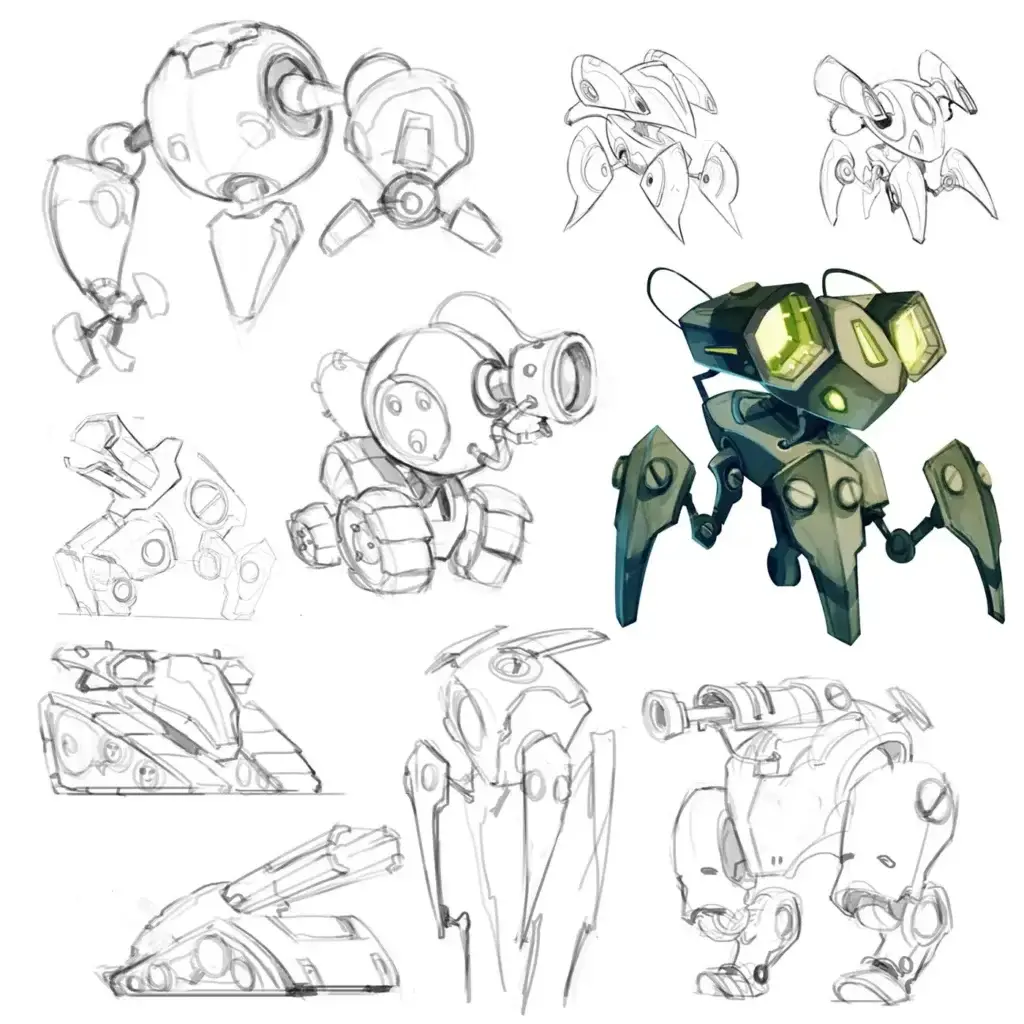
3. Final Concept Art
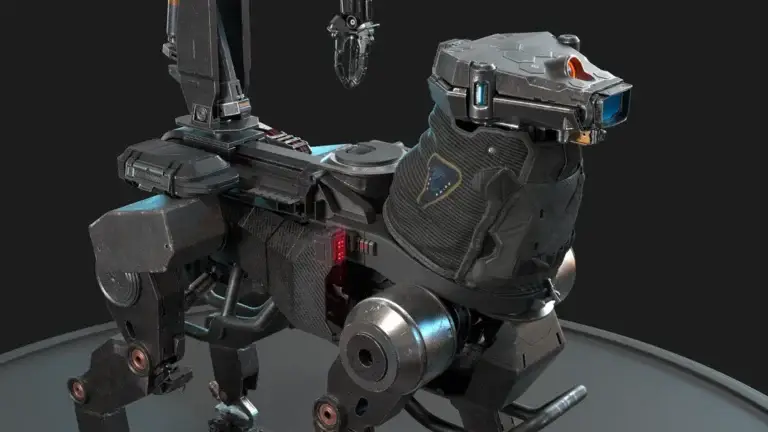
Once you have concept art and know what you want to create you can begin to make the actual 3D model. There are two primary methods for this which are poly-modelling and sculpting.
Poly-modelling involves starting with a base primitive then extruding and manipulating the geometry of the model in the desired areas, building it out into the overall shape.
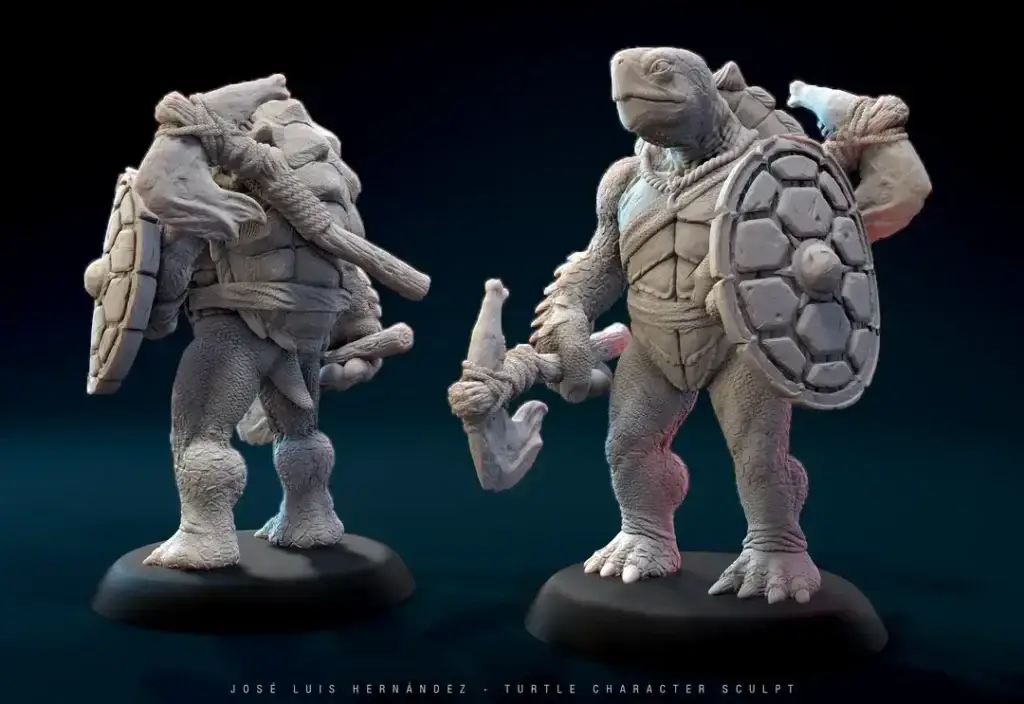
Sculpting is a more organic method to creating a base, imagine sculpting with clay but digitally. Starting with a base primitive again, the geometry is pushed and pulled to start building up the base forms.
It is also possible to combine the two methods. Creating a base form using the poly-modelling method, then sculpting in the finer details.
UV-ing
Once a model sculpt is finished it requires UVs to be set up. UV mapping is the process of taking the 3D models and using them to create a 2D representation. Imagine taking a cube and unfolding it so all the faces are flat on a table, this is a basic interpretation of UV mapping.
Example
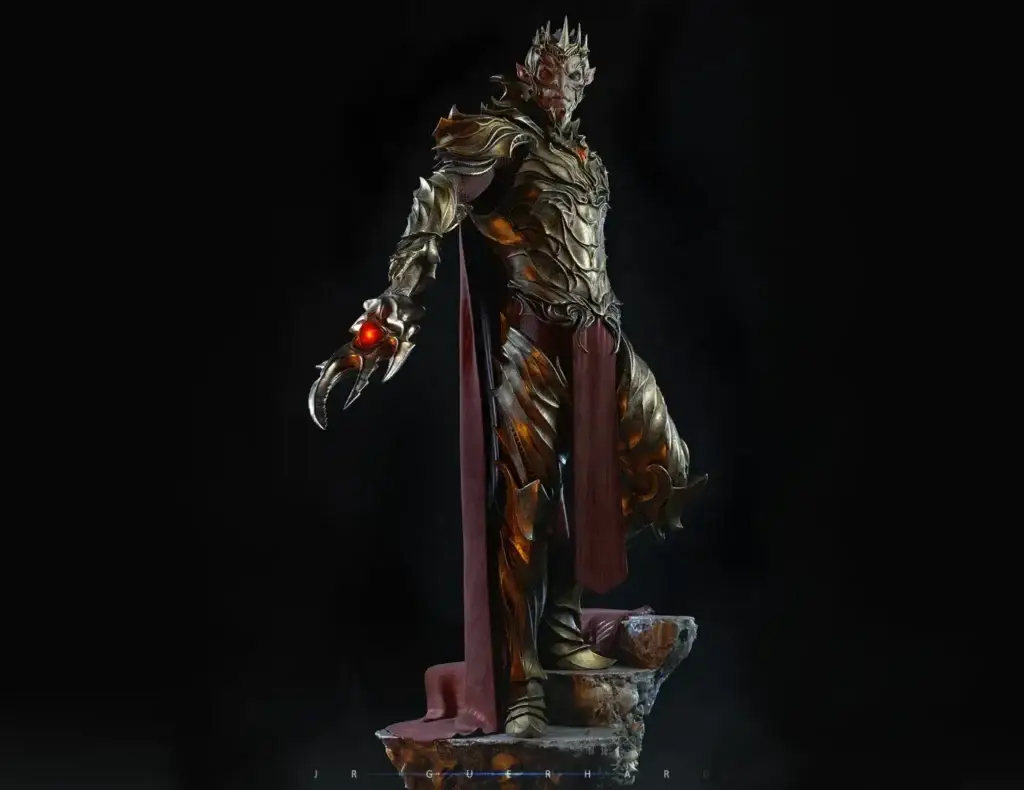
After you have the model ready and UV mapped you can begin to add textures. This gives the model additional surface details and colours to finalise the model. This involves various layers and effect values to achieve the desired result. This can take a lot of fine-tuning. A skilled texture artist can add much more depth to your model.
Example
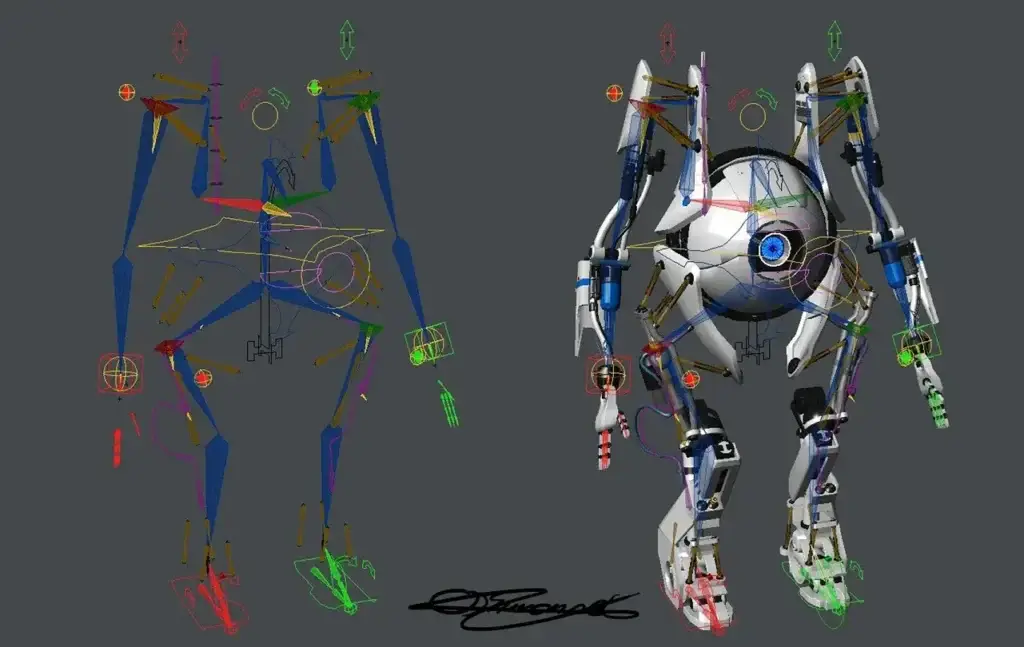
At this point, you should have a fully complete model. However, if you wish to animate your model you have to rig the model before you can animate it.
You can think of this stage as adding a skeleton to your model which your model will use to move. This is a very technical process and a good rig can make your animations that much more realistic. The more detailed the rig, the more control you have over its movements. Things like facial rigs are especially complicated but allow for a model to have facial expressions.
When the rig is complete you can now create animations for the model. There are various methods by which this can be done.
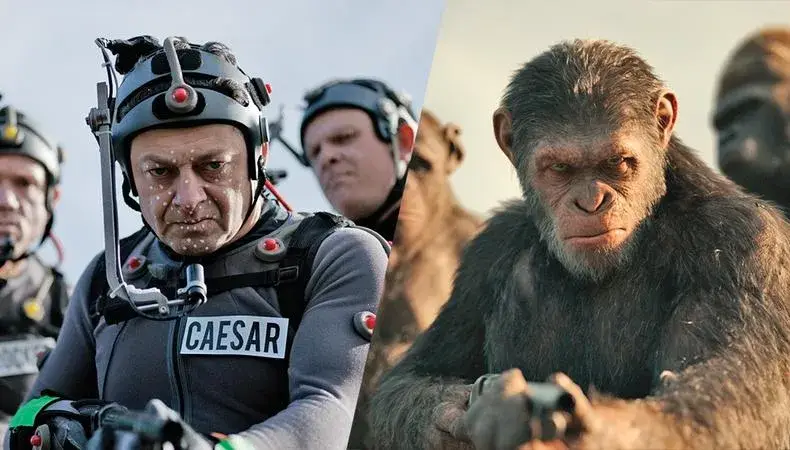
Motion Capture
You can use motion capture for life-like animation. This is where a person puts on a special motion capture suit which is linked to the model and transfers their movements to the model. This requires a special equipment meaning the cost of set up tends to be higher.
It is also worth noting the captured animation will not be perfect, so some additional clean up may be required.
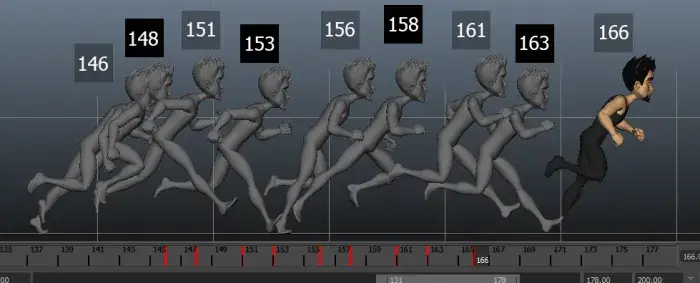
Keyframe
Then you can do keyframe animation which is a lengthy process where you animate the model at intervals.
As you can see there are multiple stages involved when creating a 3D model. There is much more detail in each stage that we can go into, but that is for another article. In the meantime, if you are looking to create a 3D model then you can reach out to CGHero to discuss it here hello@cghero.com.